Are you itching to add a pop of color to your clip-in hair extensions? The reality is, if they're made of human hair, you can get the job done right. But if you're wearing synthetic (artificial) extensions, they won't take well. You'll be left with limited options when it comes to switching up your shades.
Here's the good news: there are a ton of brands on the market that offer extensions made of top-quality, authentic human hair (otherwise known as Remy hair). We are a leading producer in this space, which means you can dye our extensions to your heart's content.
In the guide that follows, we'll take you step-by-step through the process of dyeing your clip-in extensions. We're here to uncover all the best secrets, giving you essential tips and tricks.
Key Takeaways
- Extension Type Matters: Synthetic extensions and hair dye are not a great mix. But if you're using real hair extensions, you're all set for a dramatic color change.
- Prep Work is Key: Before diving into dyeing, make sure to wash and dry your extensions. Think of it like getting them ready for their time in the spotlight.
- Apply Carefully: Ready to take the leap? Use your favorite hair dye and follow the directions on the label, but remember to avoid the roots to keep your locks looking natural.
- Give Them Some TLC: After dyeing, be kind to your extensions. Avoid harsh treatments like bleaching. Always do a test run on a small section first, and use sulfate-free products to keep your extensions shining bright.
Understanding Clip-in Hair Extensions: Synthetic vs. Human Hair

For the most part, hair extensions come in two varieties: natural human hair, including virgin extensions, and the synthetic type made with artificial fibers, like Kanekalon and nylon. If you're thinking of adding some color, without a doubt Remy hair extensions are your best bet. With thoughtful care and the right techniques, these human strands of hair absorb your color like a sponge.
Synthetic extensions just aren't cut out for it. The lack of outer cuticles means they can't hold onto color, and mix together about as well as oil and water. For actually achieving the look you're going for, human hair extensions are the way to go.
Synthetic Hair Extensions
For added length and volume, synthetic hair extensions are usually what people grab in a pinch. But here's the thing: you can't dye them well. Why? The artificial strands are coated with a sealant that stops color from taking hold.
Not only that, but they also don't have cuticles to trap in the pigment. So if you try dyeing them, you're not going to get the results you're hoping for. When it comes to something as important as your hair color, it's worth ditching the fake stuff in favor of authentic, high-quality human hair extensions.
Human Hair Extensions
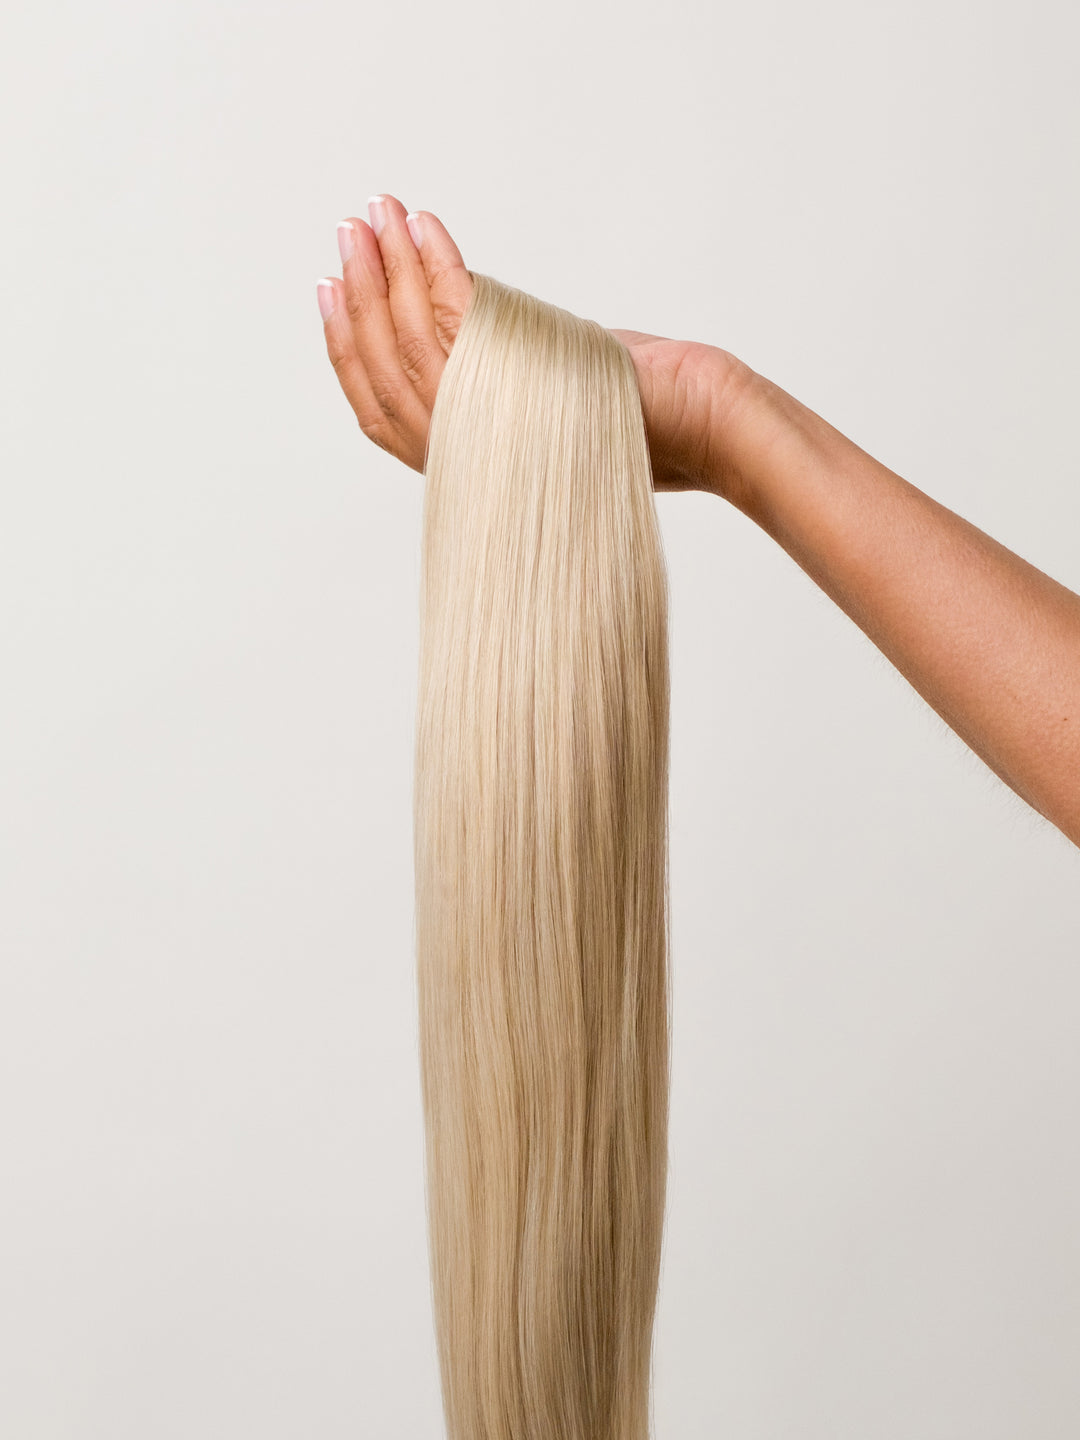
Want to turn your sandy blonde locks into more of a strawberry blonde color, or perhaps just looking give your natural brown hair a burst of auburn highlights? Human hair extensions actually make it possible. They soak up the dye incredibly well, especially if you use Remy extensions that come from the same donor.
The in-tact cuticles mean you can achieve vibrant, long-lasting color in a flash. Just remember to prep them right – a good wash with sulfate-free shampoo or conditioner before you start makes all the difference in the world.
Dyeing Human Hair Clip-in Extensions: The Process

At first, dyeing human hair extensions can seem intimidating, especially if you've never done it before. Don't worry, it's not too tricky. You just need some time, a bit of prep, and the right tools. We'll go through the steps together: getting your hair ready, choosing the best dye, and then applying it to each extension.
Preparing Your Extensions
Start by giving your extensions a gentle wash with a mild, all-natural shampoo. This helps the dye spread evenly later on. Make sure the extensions are totally dry – we don't want any patchiness here. Then, give them a good comb-through to make sure the dye is able to hit every strand evenly. With everything smoothed out, they're prepped and ready for their makeover.
Choosing the Right Hair Dye
To keep your extensions in tip-top shape, it's a good idea to go with professional, salon-quality dyes. These offer a wider range of colors and are kinder to the hair than your typical drugstore buys. If you're new to coloring extensions, try starting with a lighter, less drastic change of shade. It's less harsh on the tresses and is a great way to ease into your transformation.
Dye Application and Processing

The moment has finally arrived…dye time. Start by sectioning off your extensions with a brush, but be careful not to get dye near the roots or the clips. Once you've got them sectioned, wrap each bit in plastic wrap or foil – it helps the color really soak in. Don't forget to check the color every five minutes with a paper towel, just to see how it's looking. When the shade looks right to you, rinse each extension under warm water until the dye is all washed out. Give them a final few splashes with some cold water, and voila. Perfectly dyed hair extensions are yours.
Tips for a Successful Dye Job
There are a few pointers you should keep in mind before getting started. Everything from prepping your extensions correctly to taking good care of them after they're dyed. Following these tips are essential for a successful dye job, especially when you're working with human hair. Trust us, a little effort goes a long way in making sure your extensions look fabulous.
Perform a Strand Test

Before you go all in with the dye, do a test on a sample. Just apply a bit of dye to a small section of the extension and let it sit. This way, you can see how the color turns out and avoid any surprises down the line. The last thing you want is to be caught off guard when you start dying the entire set.
Avoid Bleaching and Lightening
Bleaching or lightening your extensions is a big no-no. It can damage the hair and lead to breakage. Stick to colors that are close to (or a little darker) than the original shade. This keeps your extensions in fine shape and still gives you a change in color.
Proper Aftercare
After dyeing, it's all about the aftercare. Rinse the extensions in lukewarm water and use a neutral shampoo to keep it from fading. When it comes to styling and blow drying, try to keep the heat low or just let them air dry. There's no better way to get the picture-perfect look you're dreaming of.
Shop Roxy Hair
Color Matching Your Extensions to Your Natural Hair
Nailing the color on your extensions is super important for that “I woke up like this” look. It comes down to understanding different hair shades and knowing when to enlist a bit of expert help. Let's explore more on this topic below.
Look at the Full Spectrum
Think of hair color levels like a scale from 1 to 10 – 1 being deep, dark black and 10 being the lightest blonde. There are a number of charts online that you can look at and compare your natural hair against. The goal? Finding the perfect shade, and making sure it blends smoothly, especially at the roots. If you're able to match the color just right, no one will be able to tell where your natural hair ends and your extensions begin.
When in Doubt, Ask the Pros
If choosing the right shade feels like a puzzle, don't sweat it. Hair stylists are experts in this area, and can help you pick the perfect match. Some extension brands even offer free color-matching services, so you can do it all from the comfort of your own home.
Alternatives to Dyeing Clip-in Hair Extensions
If you're in the mood to experiment with new hair colors but aren't ready for a permanent change, don't worry – there are lots of fun ways to spice things up. You can still play around with all sorts of shades and styles, without the stress of long-term commitment. With all the options out there, you can explore and have fun with your look until you're sure you've settled on the best option.
Purchasing Pre-Colored Extensions

Want a new hue without the hassle? Pre-colored extensions should be at the top of your list. They come in every color of the rainbow, so you can switch up your look in a snap. The best part? No dye is needed, and they usually keep their color way longer than if you did it yourself.
Using Temporary Hair Color Products
If you're just looking to test the waters, temporary hair products let you try something new. We're talking sprays, chalks, gels, and rinses, great for infusing color into any kind of extension. It's a super easy way to play around with different shades. Just make sure to follow the directions to a T so you don't do anything that your extensions won't like.
Common Mistakes to Avoid When Dyeing Hair Extensions
Dyeing your hair extensions is super exciting, but let's make sure you dodge some common slip-ups. Things like overdoing the dye, not spreading the color evenly, and using the wrong developer can really hamper your look. Simply put, there's no detail too small to be on the lookout for when it comes to dying your extensions.
Over-Processing the Extensions
With extensions, it's easy to get carried away with the dye or other chemicals. Stick to the recommended application times on the product labels to avoid ending up with weak, damaged hair that's not the color you wanted. Following instructions to the letter will save your extensions from disaster.
Uneven Color Application
For that perfectly even color, tackle your extensions in small sections, working the dye in from root to tip. A brush or comb is your best friend here for a smooth, consistent application. The aim is to achieve a natural, blended look that makes people say “wow”.
Incorrect Developer Strength
The strength of your developer is super important. If you get this wrong, you might end up with a color you weren't expecting or, worse, damaged extensions. Normally, a 10 volume developer is great for tone-on-tone coloring, and a 20 volume is ideal for going lighter. This helps keep both your natural hair and your extensions strong, healthy, and ready for anything.
Wrapping Up
There you have it. No matter which route you decide to take, we have your back. We've covered everything from getting your extensions prepped and ready to how best to take care of them after dyeing. With these tips in your back pocket, you can roll up your sleeves and start coloring your extensions with confidence. And if you're still not sure where to get the best human hair extensions, Foxy Hair has a collection you can count on.
When you choose Foxy Hair, you're getting 100% human Remy extensions. Our products come from thoroughly-vetted partners who ethically source their hair. We care about where our hair comes from, and we make sure it's obtained in a way that respects both people and the planet.
We're an established company, and when you choose us, you become an extension (pun intended) of our family too. We treat you with the care and service you deserve because taking care of our customers is our number one priority.
We believe that great hair is for everyone, regardless of who you are or where you come from. No matter your race, age, gender, religion, sexual orientation, identity, or background – we have fabulous products waiting for you.
Frequently Asked Questions
How can I dye my hair extensions without ruining them?
There are a few different ways to go. Use a semi-permanent color or use a gentle 10-volume developer to transform your color without going overboard. Steer clear of heavy-duty 30 and 40 volume developers – they're a sure-fire way to cause damage you'd rather avoid.
How should I prepare my extensions for dyeing?
Start by giving them a good wash to make sure the color spreads evenly. Once they're squeaky clean, make sure they're dry to the touch, and comb out any pesky tangles. This is your best bet for applying smooth, even color.
Can I bleach my hair extensions?
It's not the best idea. Bleaching can be harsh on your extensions and could seriously mess with their quality. Keep things simple and fresh – Remy extensions from Foxy Hair, an all-natural shampoo, and salon-quality hair dye. This combo is sure to result in one of the best dye jobs you've ever had.


