Want to add volume or length to your hair at home? Learn how to weave in hair extensions yourself and get professional-looking results. This article covers everything: choosing extensions, the weaving and aftercare – no salon visit required.
Quick Facts
-
Choosing the right hair extensions means matching the texture and color to your natural hair, and considering lifestyle, hair condition and desired permanence levels for types like Remy, virgin, synthetic, tape-in, clip-in and pre-bonded extensions.
-
Prep is key before weaving in hair extensions: wash with clarifying shampoo, dry, detangle and gather your tools in a lit and comfy space.
-
Weaving involves creating a base with cornrows, attaching wefts with needle and thread and blending with natural hair. Plus, maintenance tips to last.
Choosing Your Hair Extensions
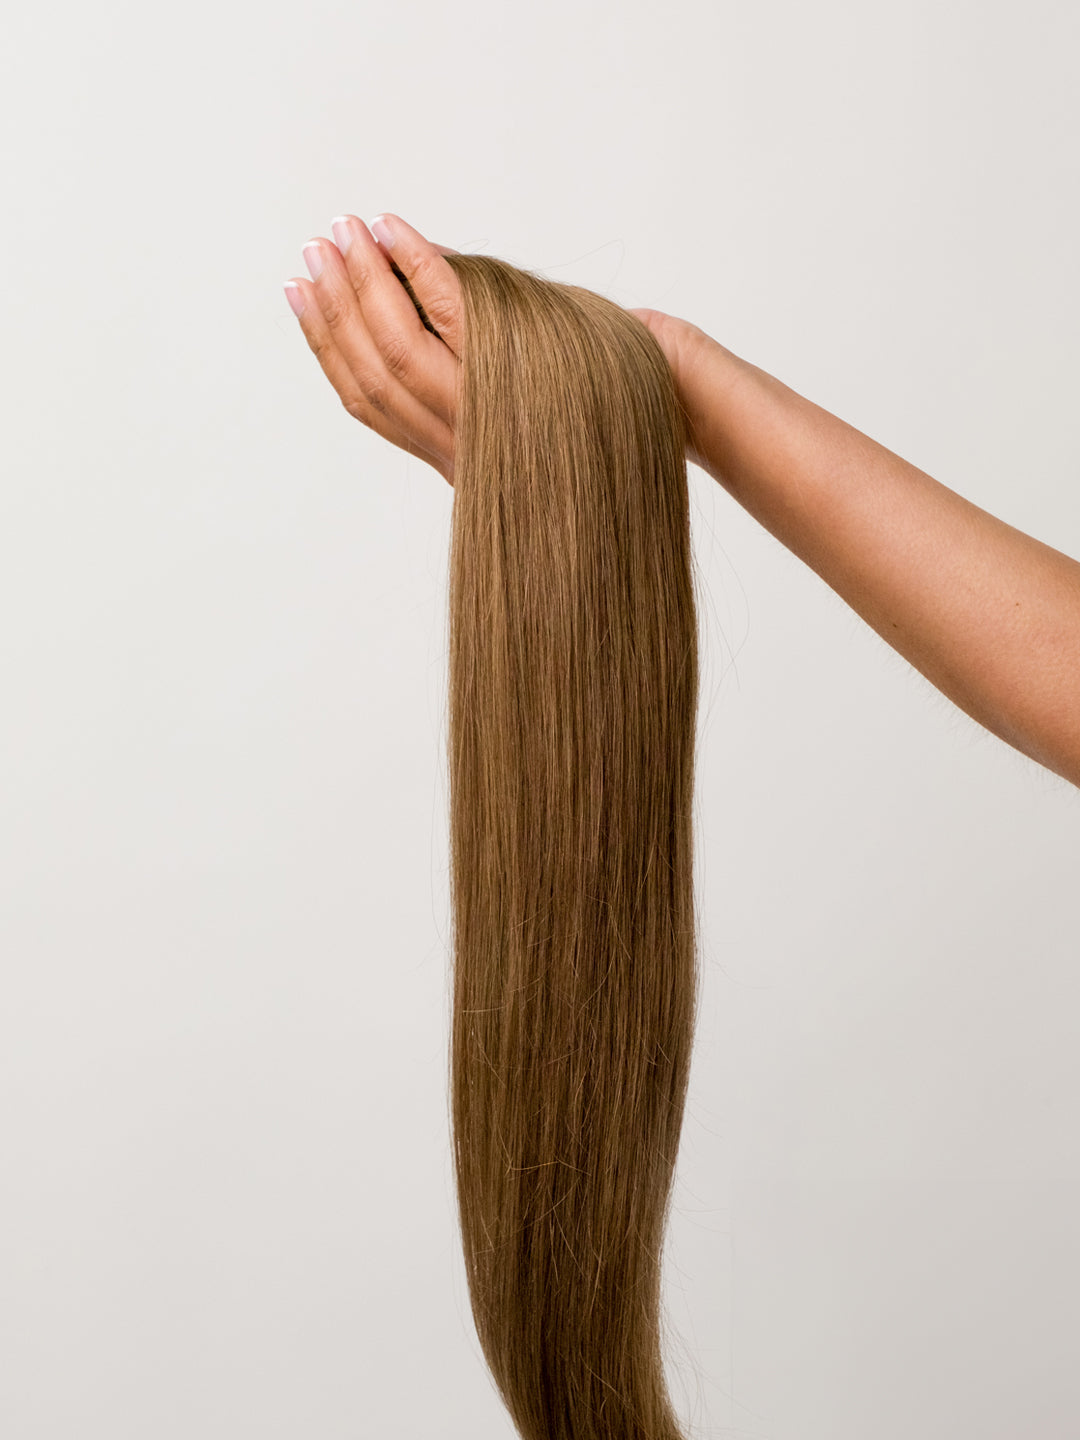
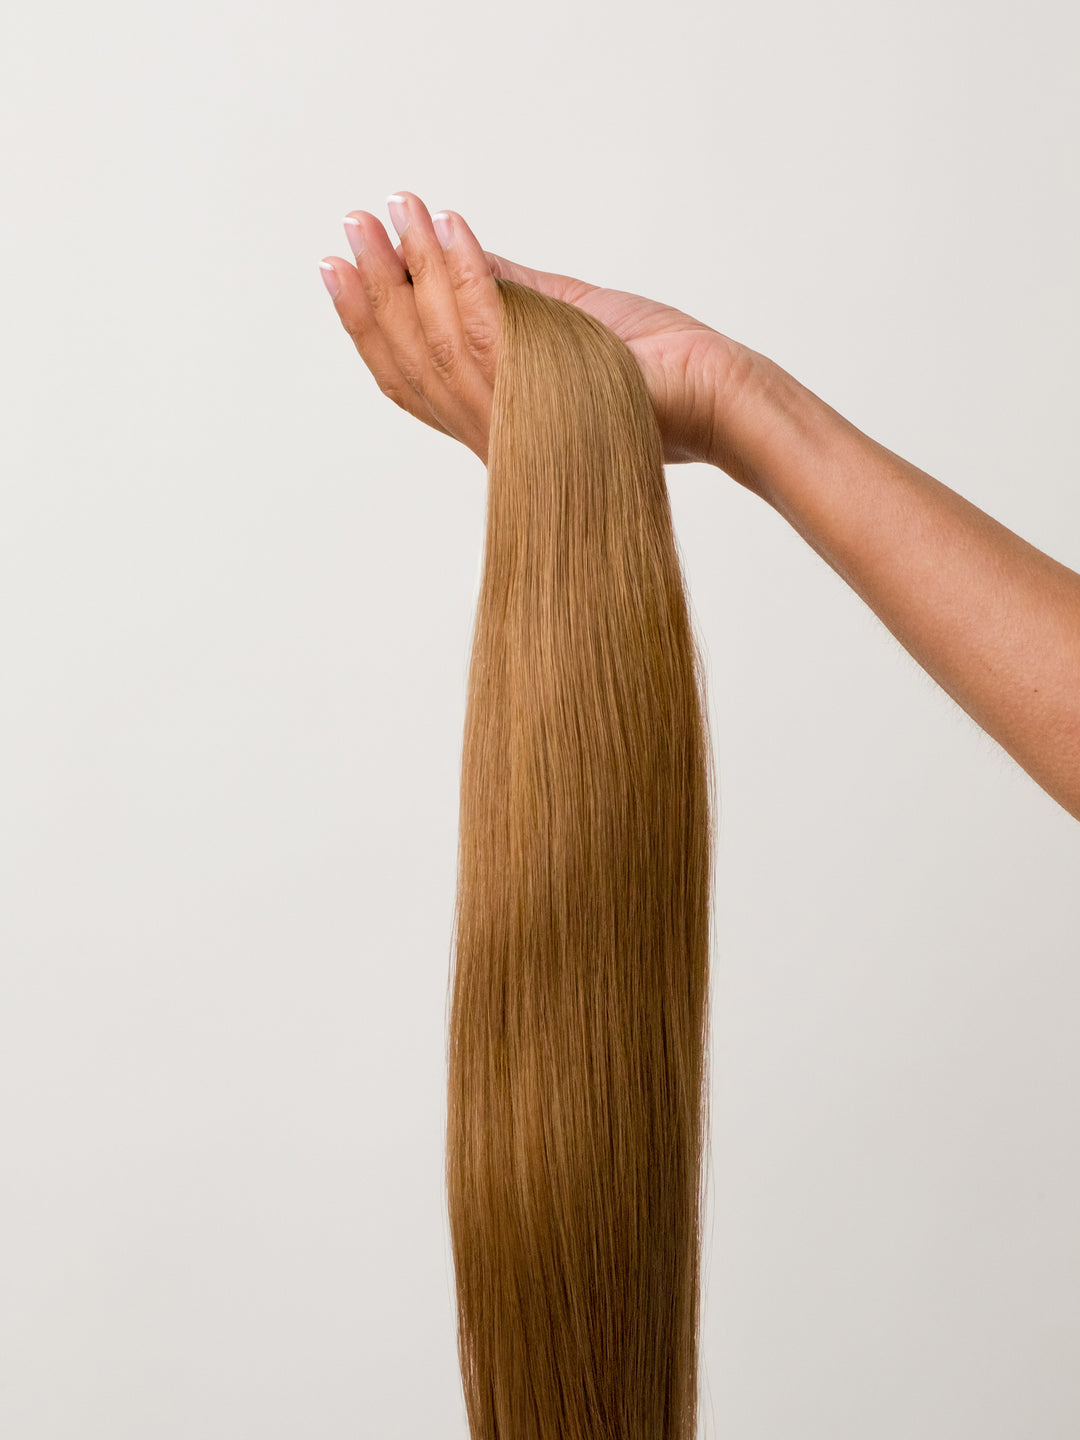
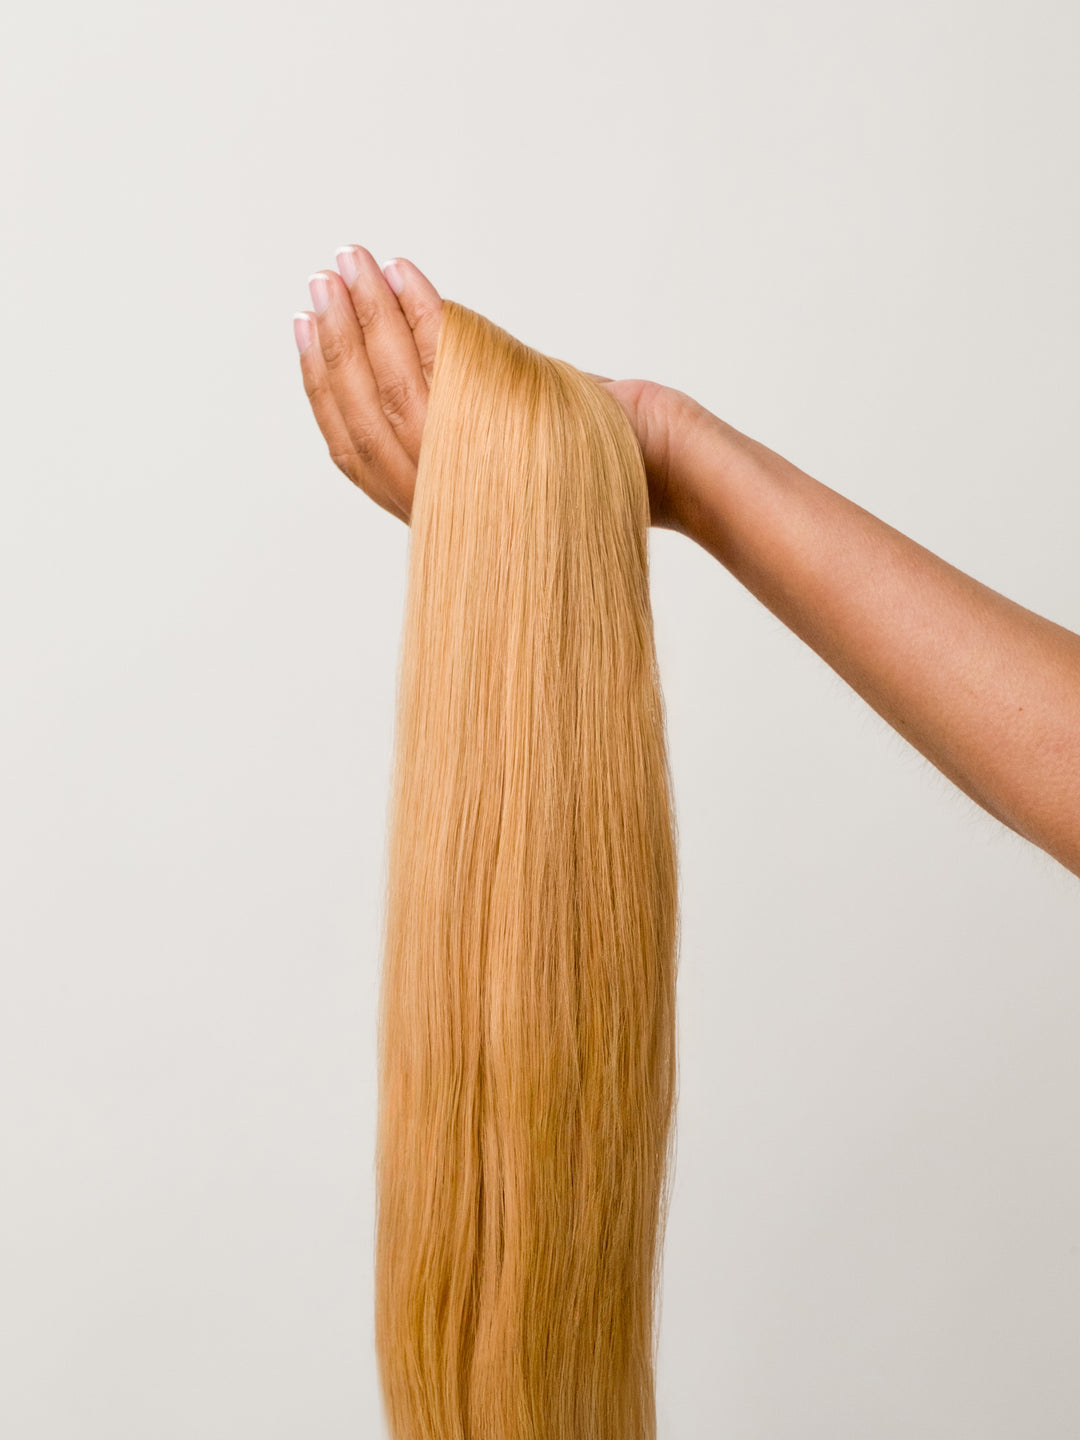
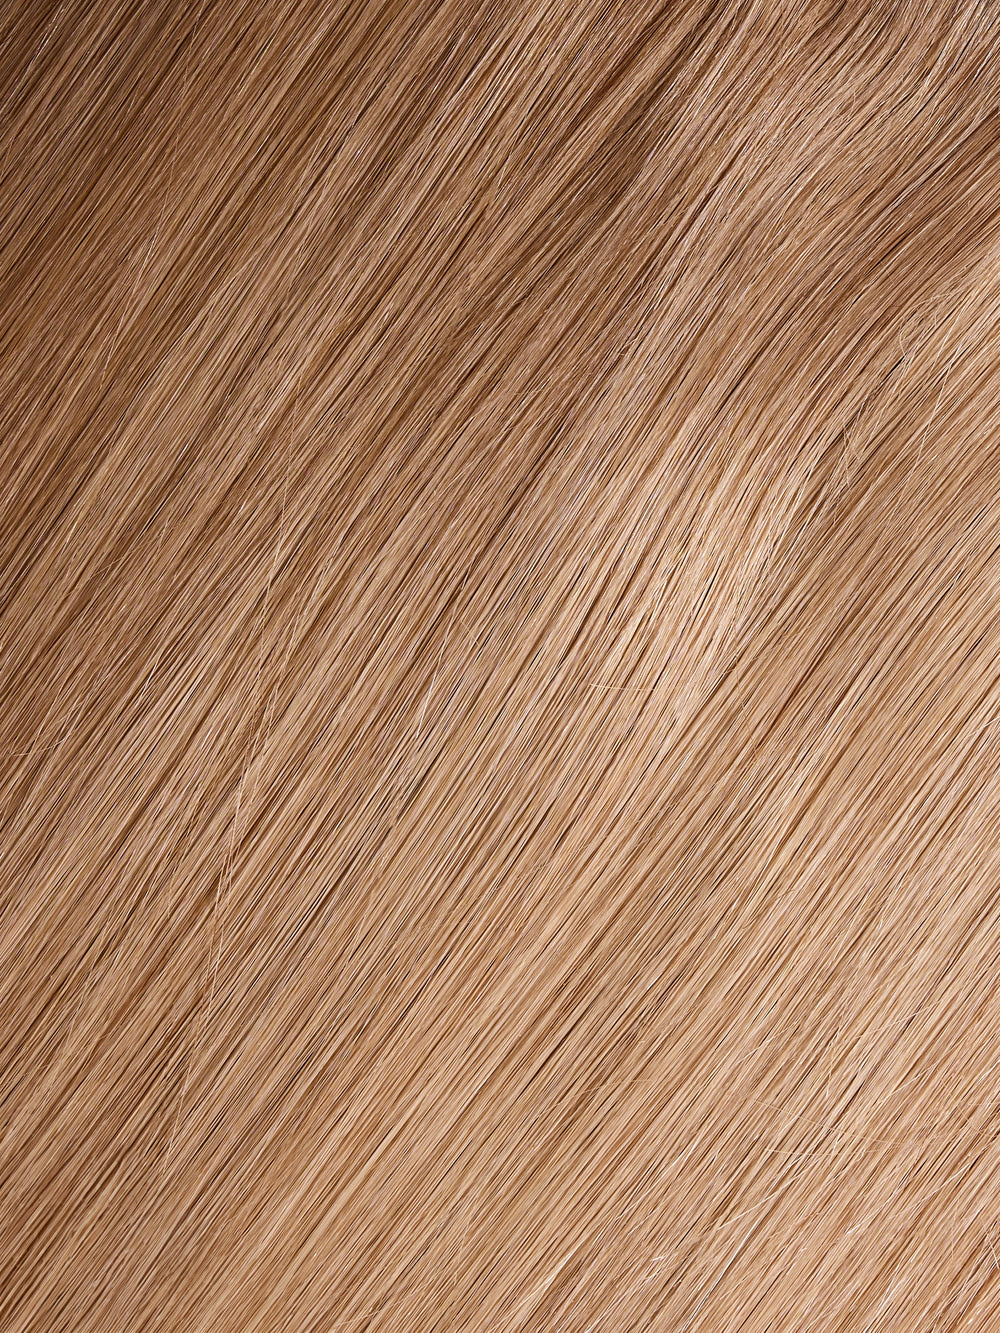
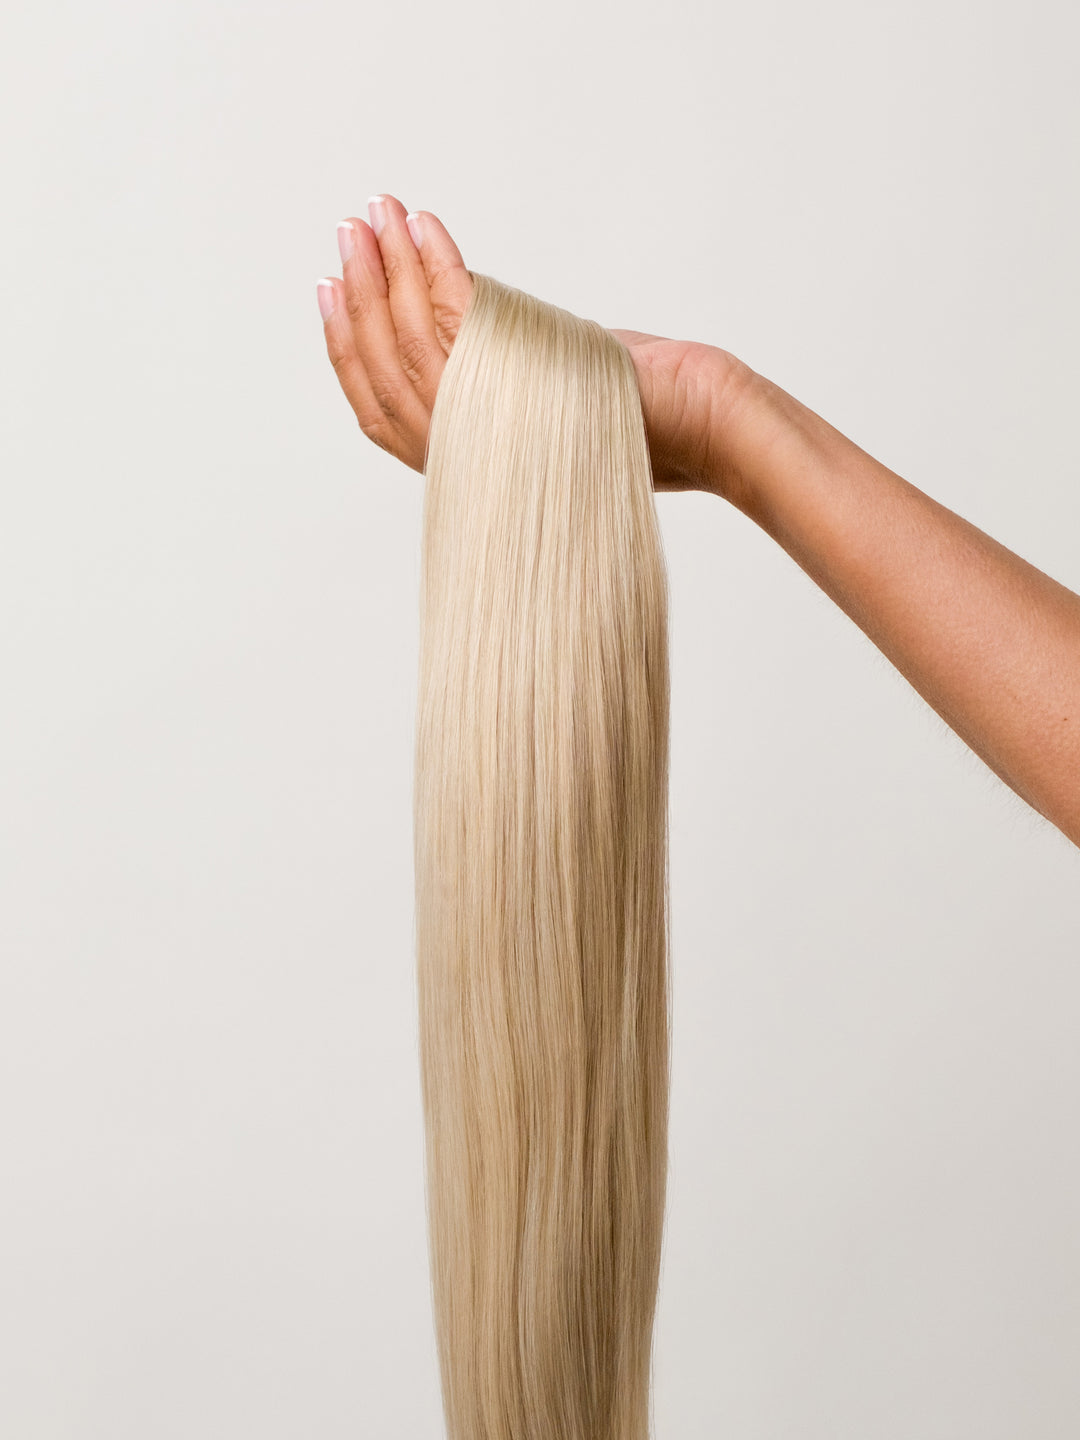
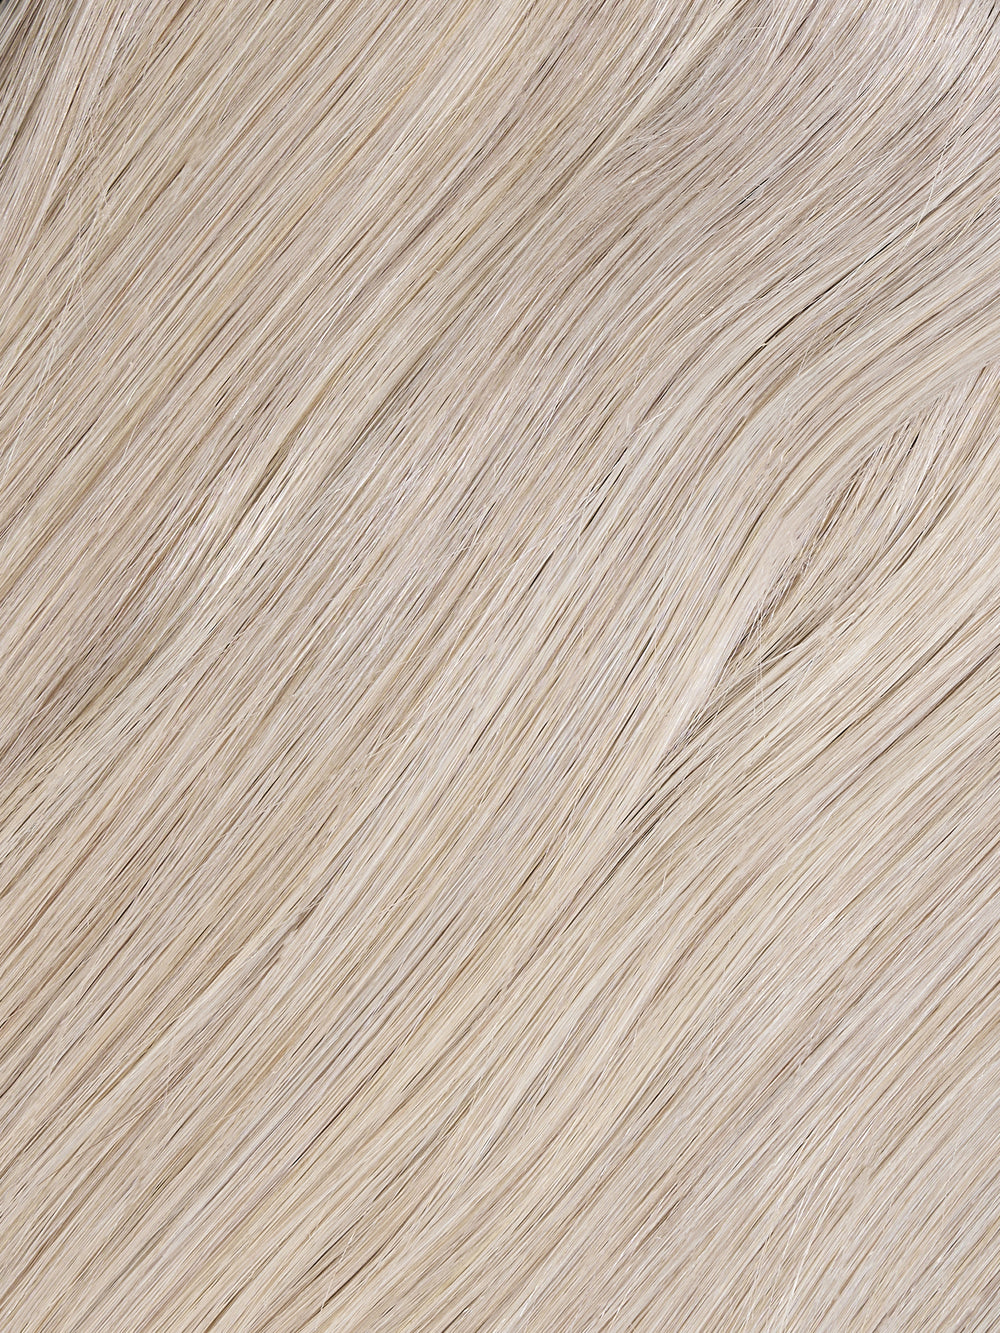
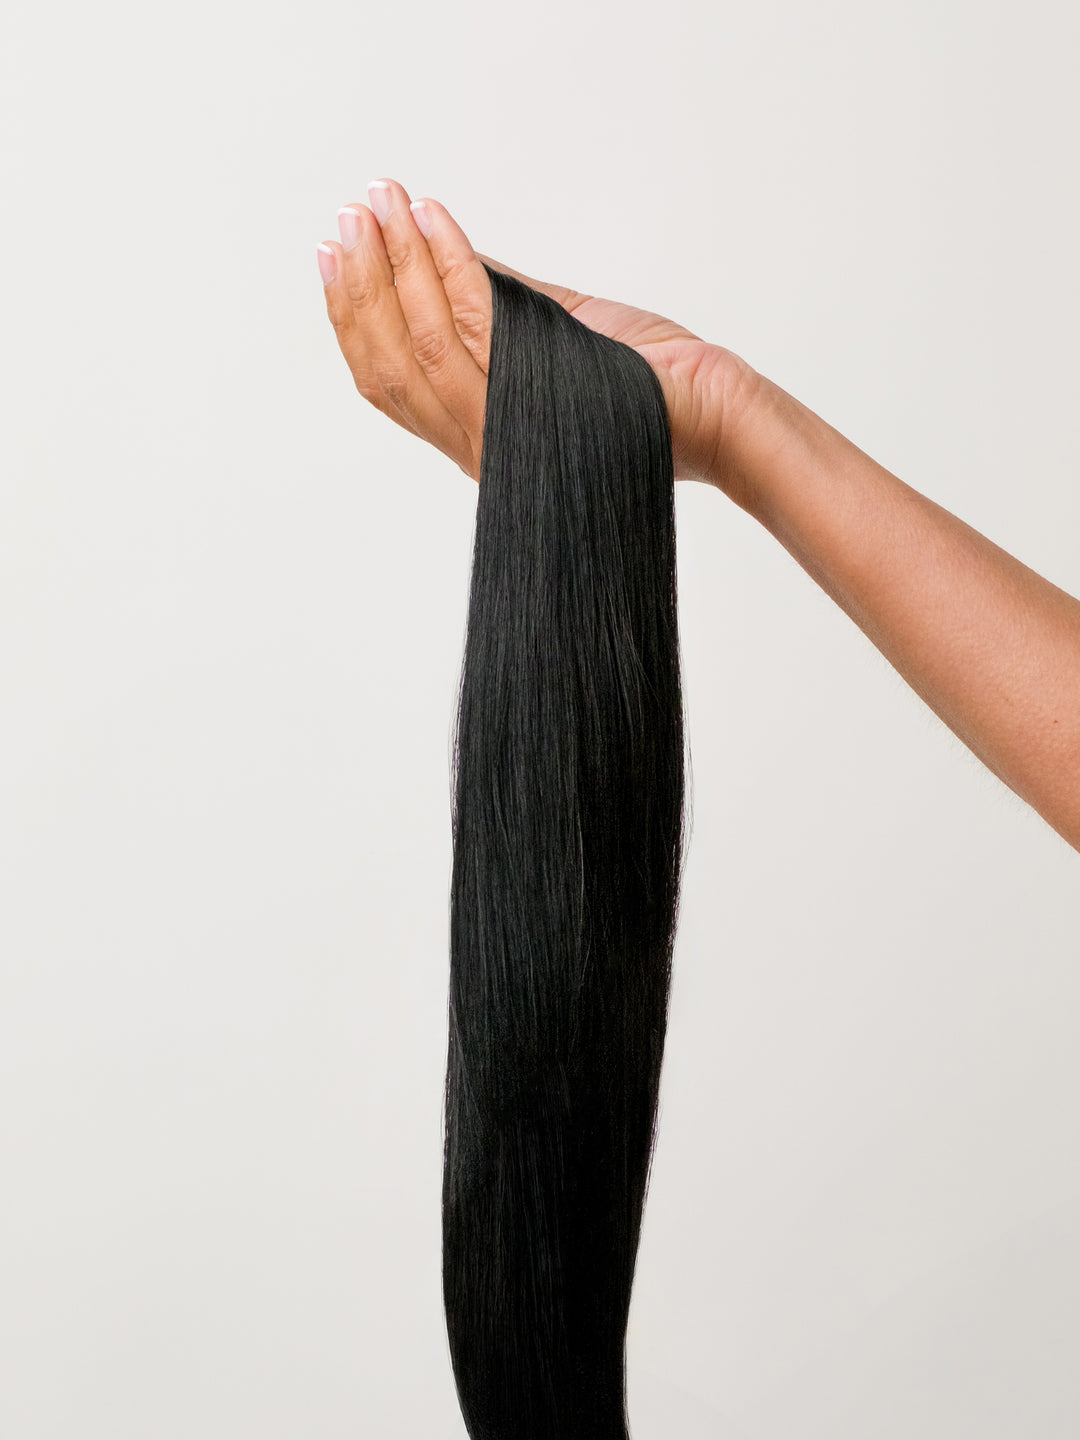
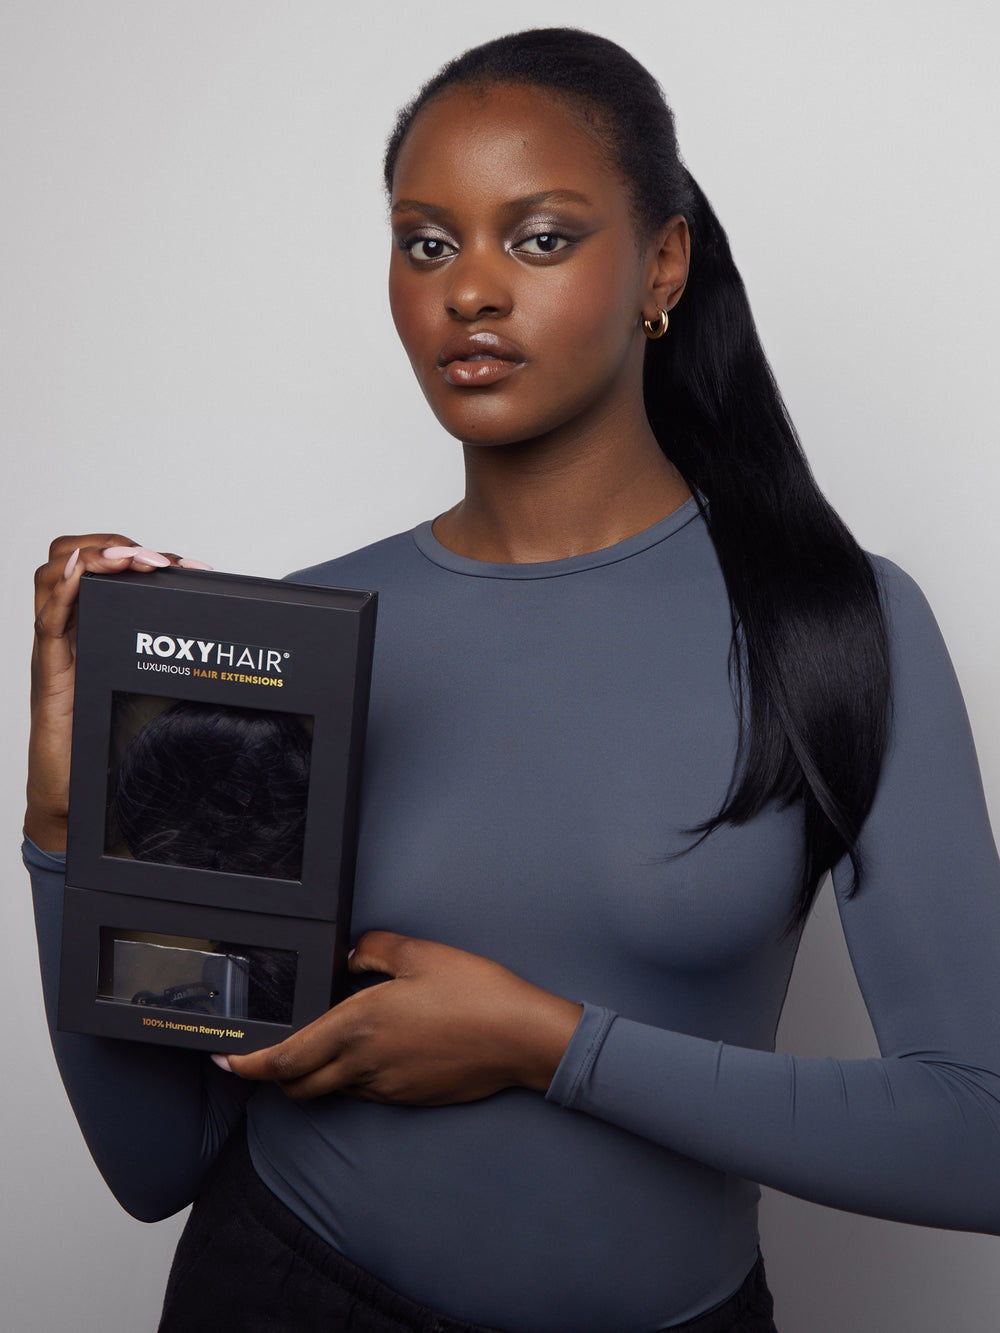
Your hair extension journey starts with choosing the right type that matches your natural human hair. From luxurious 100% Remy Human Hair to budget-friendly synthetic hair options, there are many to choose from. The secret to a natural look is matching the texture and color of the extensions to your own hair. Human hair extensions (like virgin hair extensions) have more movement and durability, less tangling and look more natural.
But when choosing hair extensions, you need to consider not just looks but your lifestyle and hair condition too. Here are some things to think about:
-
If you’re active, swim or heat style your hair often, choose extensions that can handle that.
-
If you have fine hair, lightweight options won’t weigh your strands down.
-
If volume and drama are what you’re after, thicker wefts are the way to go.
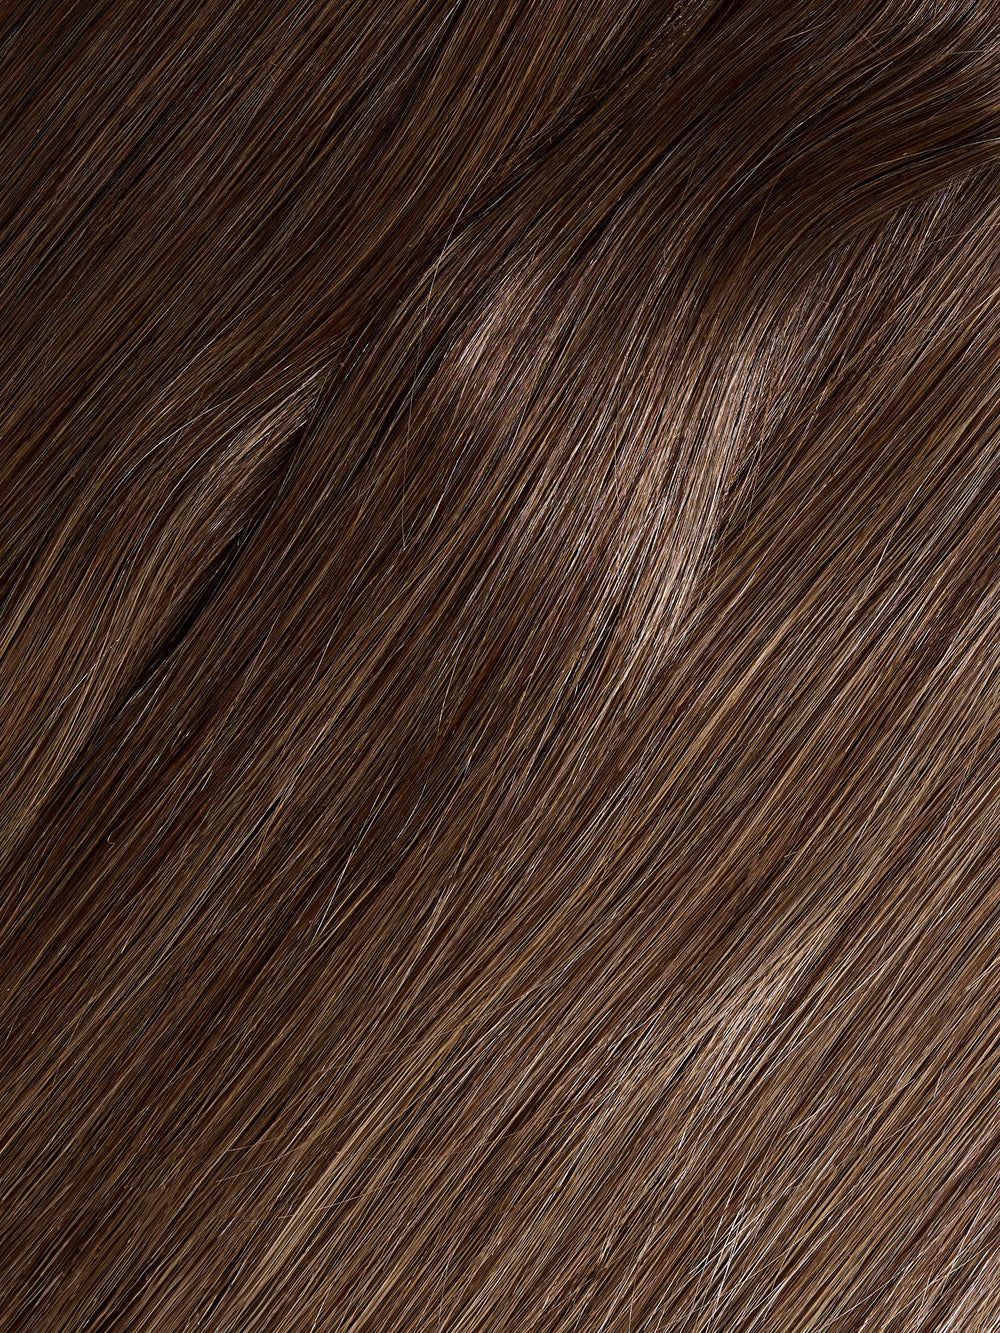
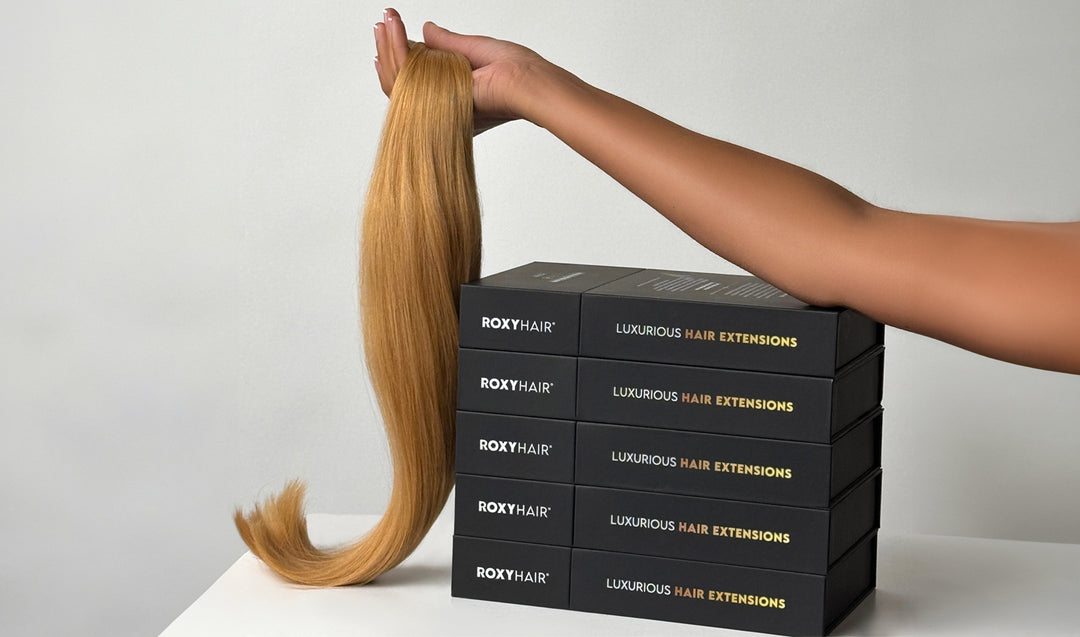
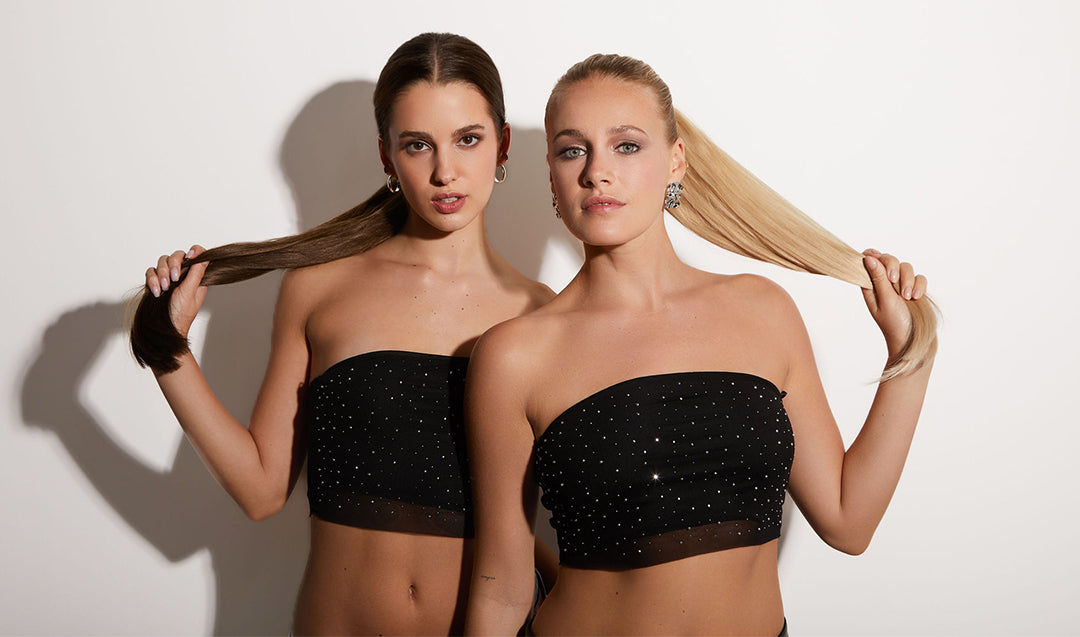
When it comes to color, the options are endless. From deepest ebony to lightest ash blonde, finding a color that matches or matches your own hair color is key. While it may be tempting to choose a color based on a digital swatch alone, consulting a hair stylist will give you a professional opinion to match.
And then there’s the format of the extension hair. Tape-in, clip-in and pre-bonded strands each offer different levels of permanence and application time. How much time are you willing to put into maintenance and do you want a long-term style solution or a temporary touch of glamour?
Preparing Your Natural Hair and Tools
Before you begin, prepare your natural hair. Wash with clarifying shampoo to remove oil and buildup. No conditioner or styling products – they’ll create a slippery surface that won’t bond well.
After washing, dry your hair completely. Moisture can cause the weft to slip or not attach. Don’t wash your hair upside down, and brush to remove tangles. Washing and brushing hair takes time, but it’s worth it for a flawless finish.
A few simple things are needed for a smooth installation. A needle and thread for hair weaving, sectioning clips to hold your strands and a hair tie or elastic to secure loose hair are all part of the weaver’s arsenal. As they say, a craftsman is only as good as their tools – the same applies to weaving in hair extensions.
Now, where will you be working?
-
A lit area with a big mirror so you can see all angles of your head
-
A comfortable chair makes the process less painful
-
If you’re not totally sure what you’re doing, having a professional stylist on standby is a good backup plan.
The Weaving Process
A good hair weave starts with a good foundation, which are the cornrows. These braided rows are the base to which your hair weaves will be attached. Knowing the process of creating the foundation and then attaching and blending the weave is key to a look that’s beautiful and long-lasting.
Sectioning and Braiding
Sectioning and braiding is the first step to a strong weave. Part your natural hair to map out where the cornrows will go. These partings must be exact, as they’ll determine the direction and flow of the final style. You want continuous cornrow braids that lie flat against the scalp – an invisible and comfortable base for the weave.

When braiding, tension is everything – too loose and the weave will slip, too tight and you’ll be uncomfortable and may damage your scalp. Finding the balance is an art – secure enough to anchor the weave but comfortable enough to wear.
As you braid each cornrow, think about the final look. Some things to consider:
-
Smaller braids for a flat profile for a sleek, straight style
-
Larger braids for extra volume or thicker wefts
-
Always think about the texture and volume of your extension hair and make sure the braids provide a good base for the braid hair.
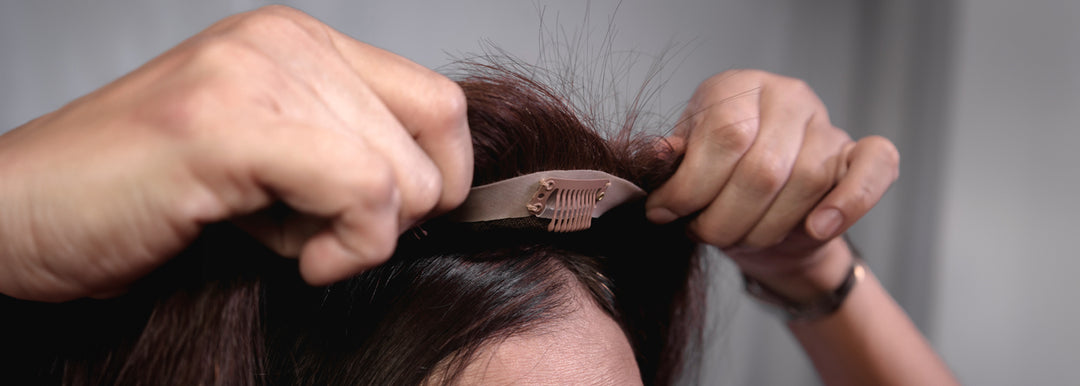
Attaching the Hair Weave
Now the foundation is laid, you can attach the hair weave. This is where your needle and thread come in. Start at the nape of the neck, place the weft against the cornrow and use the curved needle to stitch the weft onto the braid. It’s slow and precise – each stitch must be the same and not too tight on the natural hair.
You want to distribute the weft evenly across the cornrow, no puckering or gaps. Stitches should be about half an inch apart. The strength of your weave is in this stitching, so take your time and be consistent.
When you reach the end of a weft, the last step is to tack down the folded ends. This will prevent the weave from coming undone and your extensions from coming out. Don’t go under the cornrow for this last stitch – it will give you a smooth finish that feels as good as it looks.

Blending the Extensions
The magic of hair extensions is in the blending. That’s where artistry meets technique and the right brush – a loop brush – makes all the difference. Start by gently detangling from the bottom up and blend the extension hair with your own.
For a silky straight style, run straightening irons over both your natural hair and extensions. For curls or waves, use hot tools on both your hair and extensions at the same time. Whatever you do, heat protectant is non-negotiable – it protects your hair and makes both your extensions and natural hair move and shine together.
Blending is rewarding, but maintenance is key. Carry a small brush with soft bristles to detangle and realign throughout the day. With proper care, your weave will continue to look amazing long after you leave the stylist’s chair.
Maintenance Tips for Your New Weave
Congratulations, you look amazing! Now let’s talk about how to keep it that way. Maintenance starts in the shower:
-
Wash your hair from top to bottom to prevent tangling.
-
Shampoo at the roots and condition the ends.
-
Weekly deep conditioning treatments will keep your weave looking fabulous.
Night-time care is just as important. Before bed, tie or braid your extensions loosely and never go to sleep with damp hair. That simple habit will add years to your weave.
Daily maintenance is too. Here are some things to remember:
-
Make it a habit to release the bonds of your extensions to prevent matting with your natural hair.
-
When brushing, start at the ends and work your way up, gently detangle without pulling on the weave.
-
Treat your extensions like a fine garment; handle with care and they will continue to look beautiful on you.
Heat styling should be used with caution. Here are some heat styling tips:
-
Always use heat protectant
-
Use products recommended by your technician (sulfate and alcohol-free)
-
These products will preserve your extensions and the color, so your weave will look as good as the day it was installed.
Advanced Techniques and Styles
If you’ve got the basic weave down and want more, try advanced techniques like micro link, tape-in, or seamless skin wefts. These will give you volume, personalized highlights, and movement.
There are different types of extensions:
-
Micro link (also known as micro-bead or I-tip) – individual strands attached to your natural hair without heat or glue.
-
Tape-in – seamless and great for length and fullness without bulk.
-
Clip-in – the ultimate convenience – add and remove length as you please.
A professional stylist can customize these advanced options to fit your styling goals and blend the extensions with your natural hair. Whether you want a silky straight style, luscious curls, or learn how to curl synthetic hair, there’s a technique to bring your vision to life with precision and drama.
")
")
")
")
")
")
")
")
")
")
")
")
")
")
")
")
When to See a Professional Stylist
While doing your own hair weaving can be fun, a professional stylist’s expertise is worth it at times. If you’re unsure about which extensions to choose, need help with the tricky parts of weaving, or want to make sure your natural hair doesn’t get damaged, see a stylist. They have the skills and knowledge to walk you through the process and make sure your new look turns heads and protects your hair.
Weaving Troubleshooting
Despite your best efforts, you may still encounter some issues with your hair weave. Discoloration is a common problem and can be caused by hard water, sun exposure, or heat styling tools. If your extensions are losing their shine or changing color, don’t stress – there’s help.
First, find out what’s causing the discoloration. Is it environmental (UV rays or chlorinated water) or your hair care routine? Once you know, you can fix it. Gentle toners, silver or purple shampoo, and peroxide-free clarifying treatments will restore your extensions’ color without further damage.
Hair weaves are more prone to discoloration because they don’t get nutrients from the scalp and may have already been processed to achieve their color. Be proactive with the products you use and how you treat your extensions and you’ll preserve the beauty and longevity.
Summary
So, that’s hair weaving in a nutshell – a journey of self-discovery and creativity. From choosing the right extensions for you and your lifestyle to maintaining your new weave, every step is to make you more beautiful. Remember, a great weave is all about preparation, application, and maintenance. Go for it and let your hair be you.
FAQ
Can I wash my hair extensions as often as my natural hair?
No, you shouldn’t wash your extensions as often as your natural hair. Wash them every 10-14 days.
How long can I wear my hair weave?
6-8 weeks, but follow maintenance and see your stylist as your natural hair grows.
Are hair extensions bad for my natural hair?
Hair extensions applied and maintained properly won’t damage your natural hair. Have them applied by a professional and follow the instructions.
Can I use heat on my hair extensions?
Yes, on human hair. Use a heat protectant and check if synthetic hair is heat-friendly before using heat tools.
How do I prevent tangling in my extensions?
Tangle prevention: Brush daily from ends to roots, tie or braid before bed, and don’t sleep with wet.