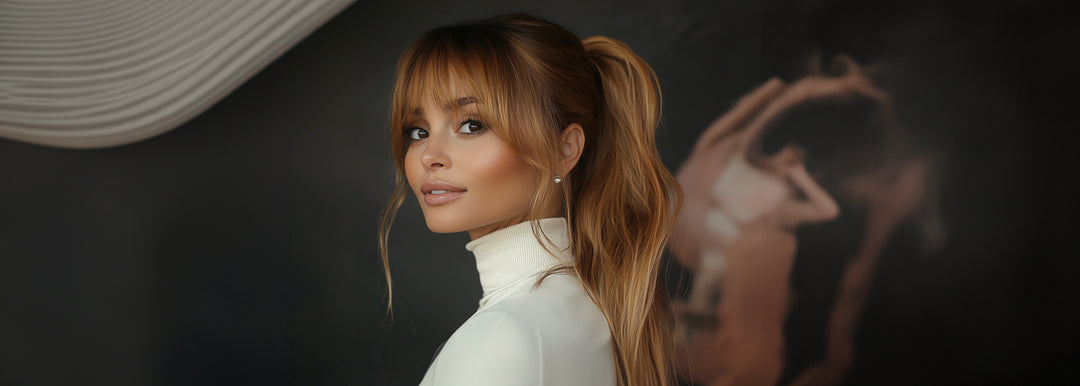
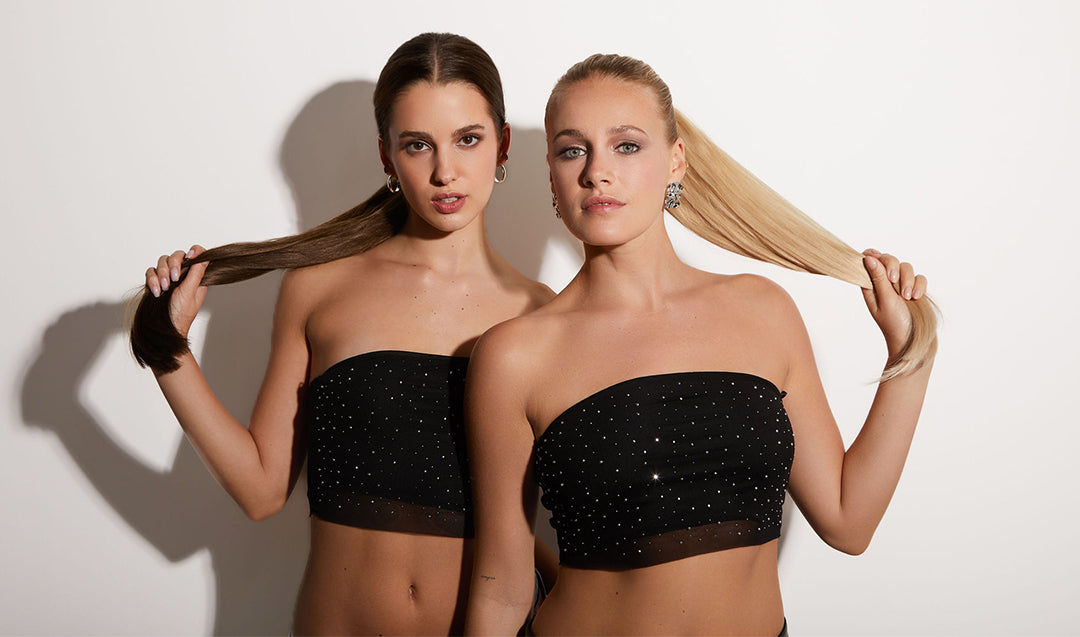
Using clip-in hair extensions is an easy way to switch up your look without any major changes. We'll show you how to create a beautiful updo hairstyle using clip-in extensions. It's super simple and will make you feel like a million bucks.
Grab your clip-ins and a brush. We'll walk through the steps to achieve this stunning yet easy updo. You don't need to be a pro stylist - just a little patience.
Key Takeaways
-
Clip-in extensions give you instant volume and length for updos. No big commitment.
-
Detangle and section your natural hair first. Prep is important.
-
Tease a little above where you clip in the extensions. Then brush over gently to blend.
-
Use hairspray to hold the updo, but don't overdo it and get crunchy hair.
-
Accessorize with hair pins, headbands or jeweled clips to glam it up.
Tools and Materials Needed

Let's talk about what you need for hair extensions. First, you got the rat tail comb. This long, pointy comb is great for parting and sectioning your own hair before putting in the extensions.
Then you got sectioning clips or a hair elastic. These clips hold sections of your hair out of the way while you're working.
You'll also want a good detangling brush with soft bristles. This lets you brush your real hair and the extensions without any snags or breakage.
Grab a hand mirror or set up mirrors so you can see the back of your head for even application.
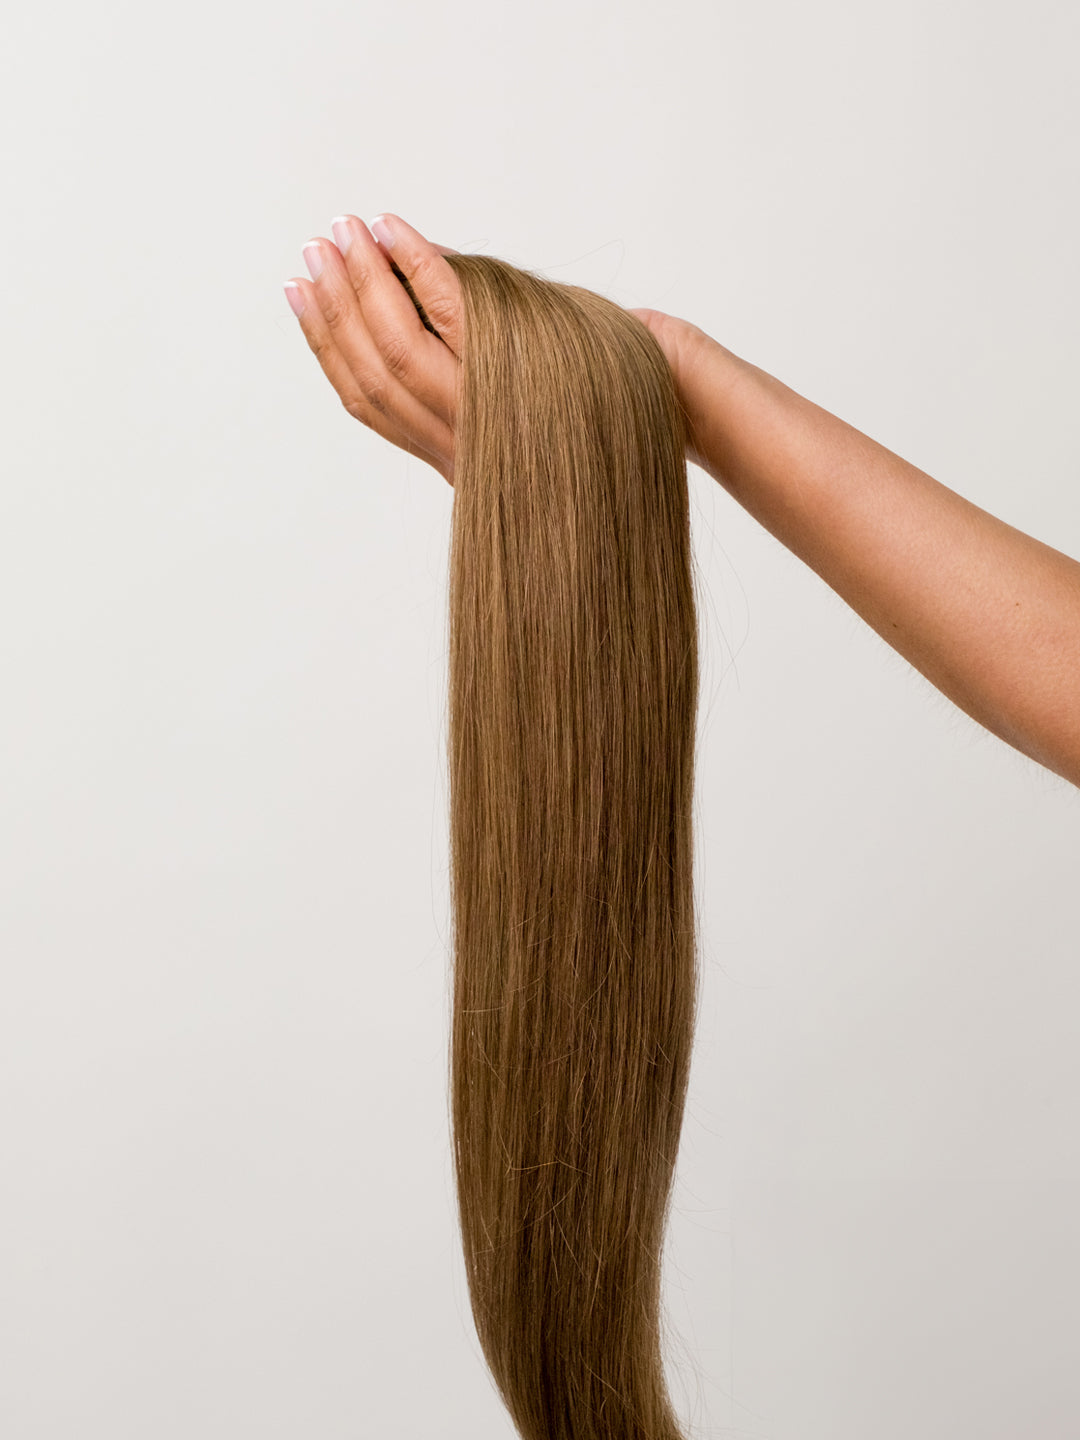
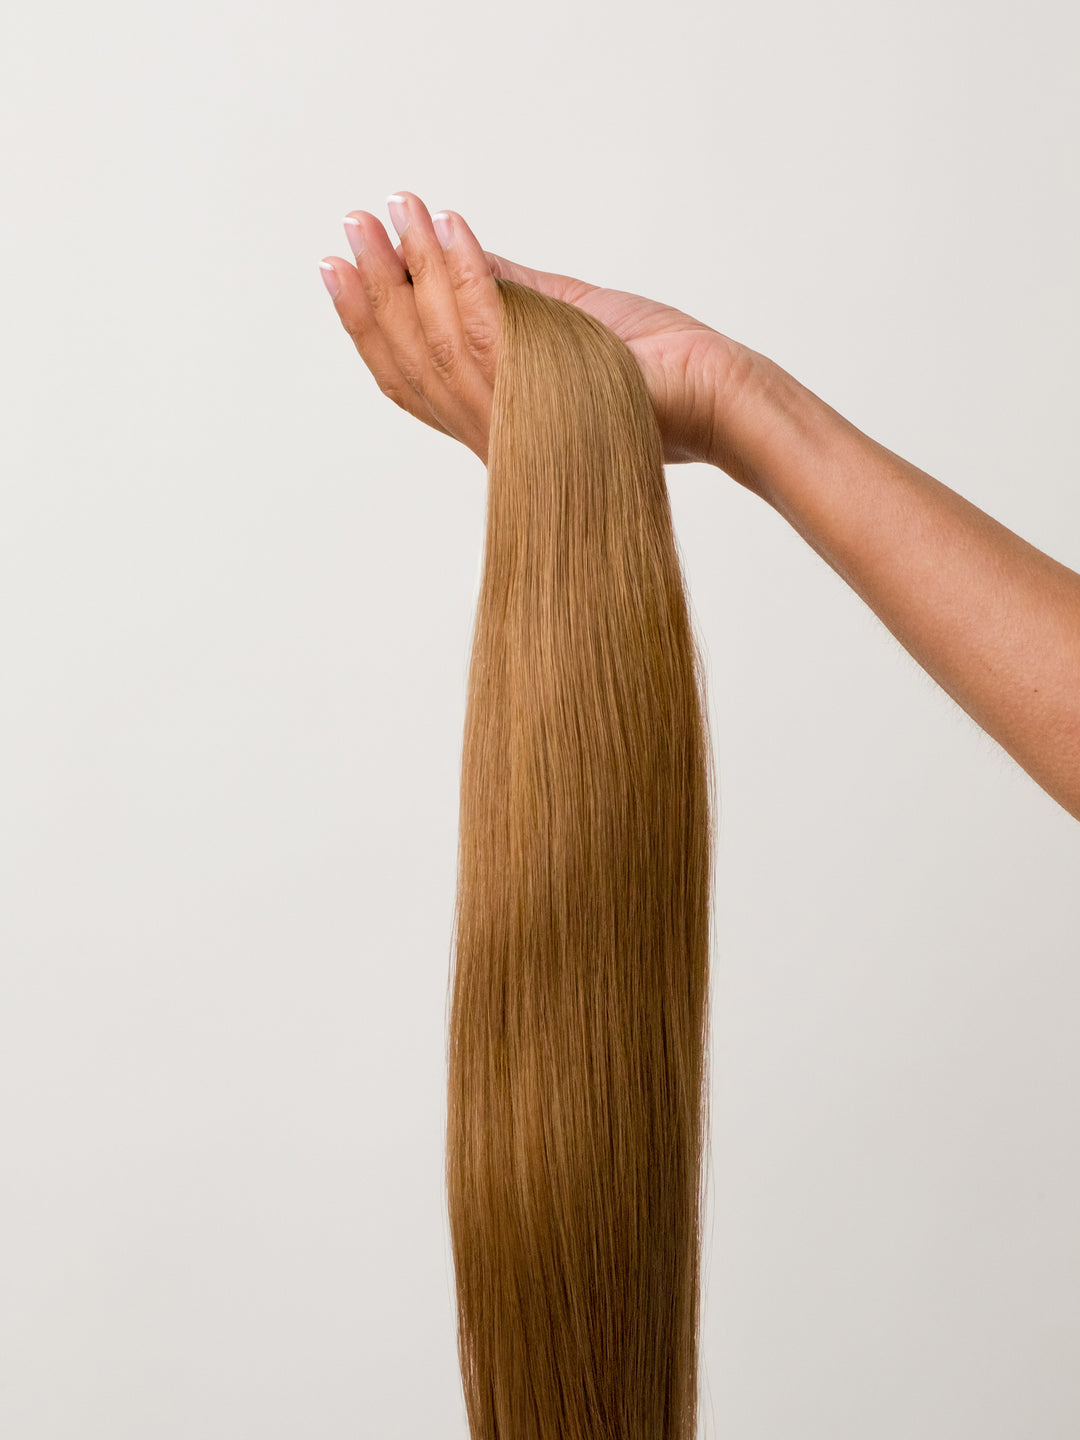
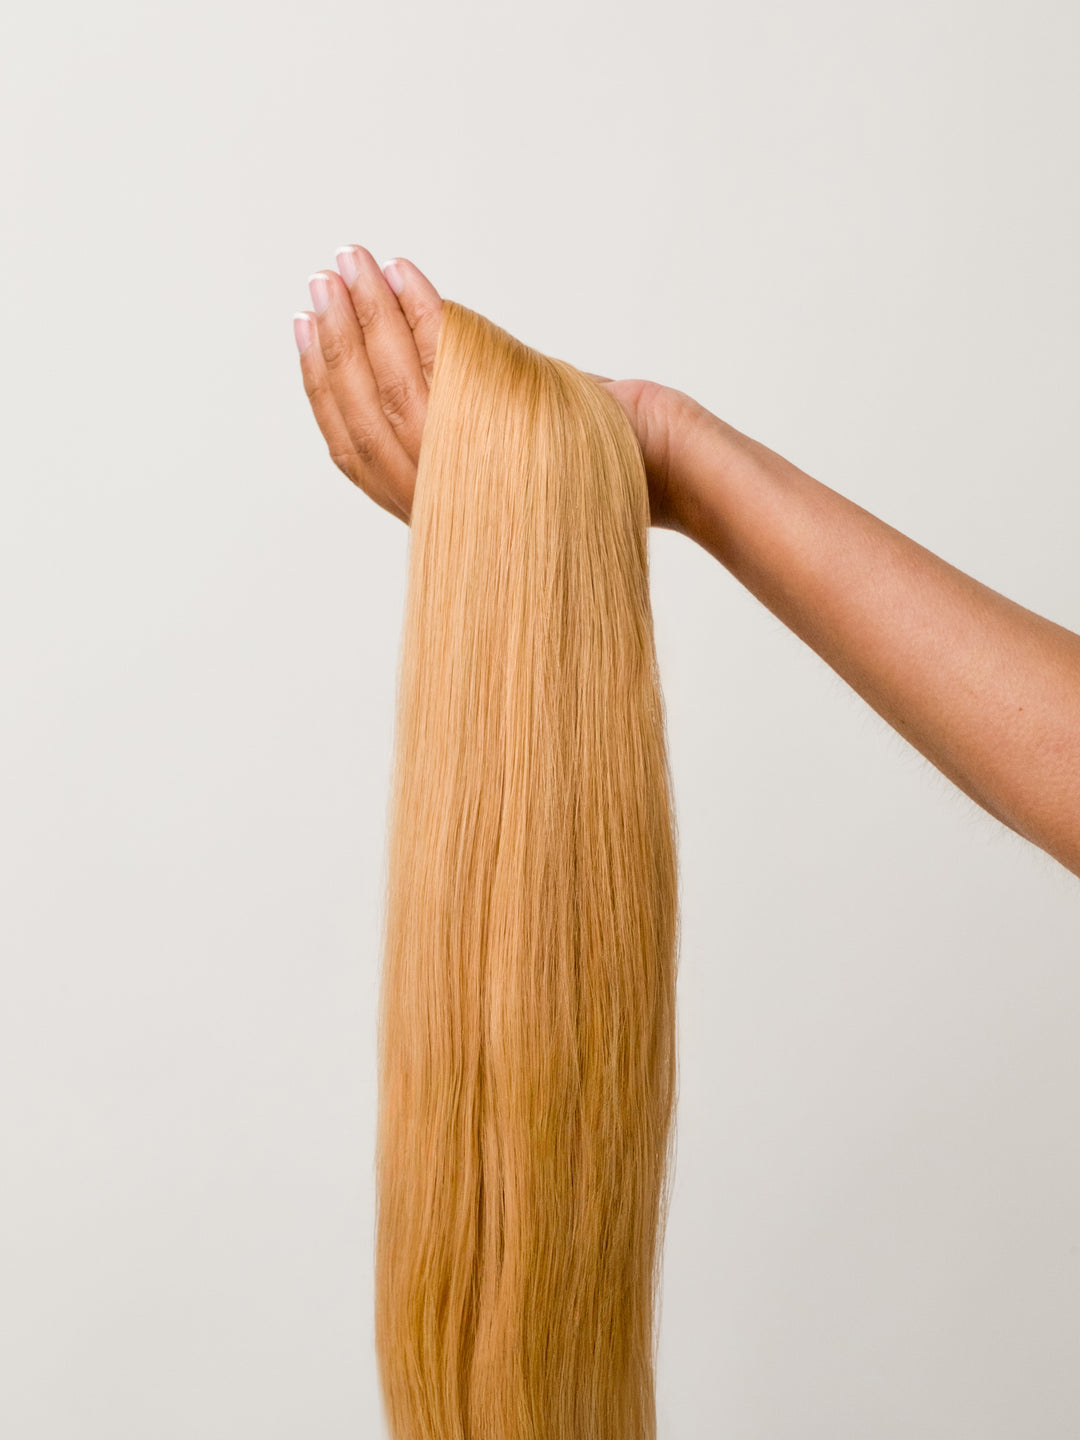
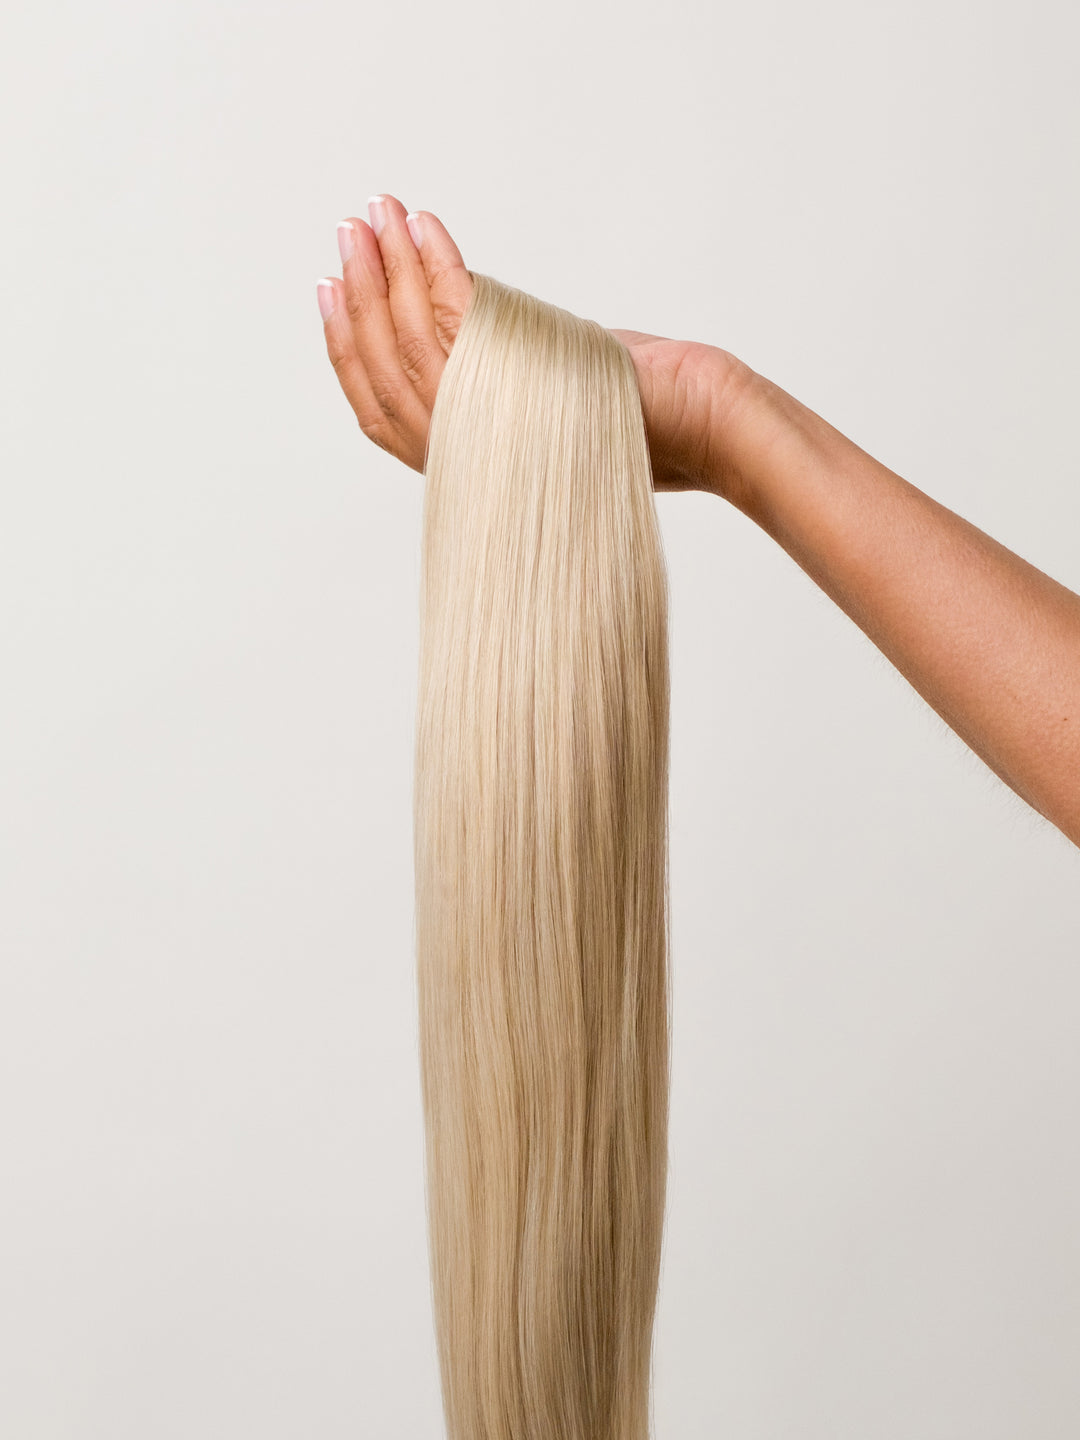
For the extensions, pick a length that goes with your natural hair and the desired style. Maybe go a little longer since you can trim them later.
Pay attention to the weight too. You want something that matches your human hair density. Your hairstylist can help with finding the right weight especially when getting halo hair extensions.
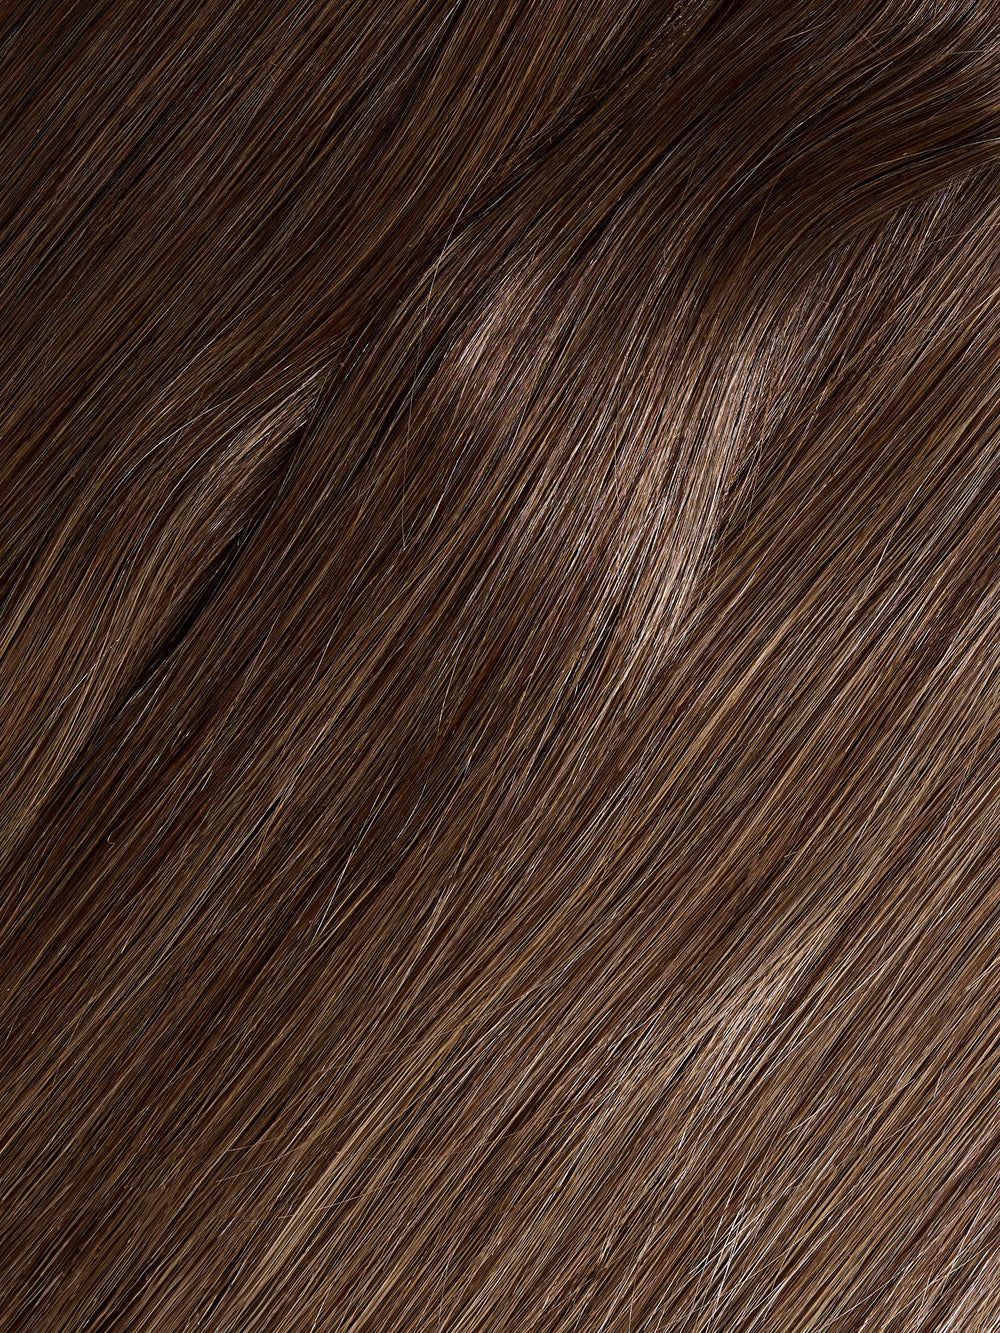
Color is important. Get a shade really close to your natural hair color like black hair. You can go slightly lighter for subtle highlights if you want. Your stylist is the expert on color matching.

For products, a volumizing mousse at the roots before the extensions gives you a nice base with grip.
A light hairspray can tame flyaways at the end, but go alcohol-free.
Lastly, a lightweight hair serum will smooth frizz and add shine to your real hair and extensions.
Prepping Your Natural Hair
Your natural hair is gorgeous and you can do so many styles with it. But to keep it feeling and looking its best, you gotta follow a routine. Prepping your hair before styling is key for getting amazing results without any damage.
Cleanse and Condition
First, use a sulfate-free shampoo to clean your hair without drying it out too much. Next, apply a deep conditioner generously, especially on the ends. While the conditioner soaks in, gently detangle with a wide-tooth comb, starting from the bottom and working your way up.
Detangle
With that conditioning goodness still in, take your time detangling each section slowly and carefully. Use a wide-tooth comb and start from the ends, gradually working your way up to avoid snapping strands. If needed, use a detangling spray or leave-in to reduce friction and add slip.
Section for Styling
Divide and conquer by parting your hair into neat sections, using clips to keep each one secure and out of the way as you work through the others.
How big or small you make those sections depends on your styling goals. Smaller for intricate braids or bantu knots, larger for voluminous wash n' gos or twist-outs.
Pro Tips
Do a pre-poo treatment - Slather some oil or deep conditioner on your dry hair before shampooing. It's like giving your hair an extra drink of moisture before you cleanse.
Every couple of weeks, use a clarifying shampoo. It'll reset your hair and get rid of any product gunk that's built up.
These are just general tips, but feel free to tweak things however works best for your specific hair. Customize it to fit your hair's unique needs and texture.
Sectioning and Clipping In Clip In Hair Extensions
Creating Horizontal Subsections:
-
Let's start with some prep work. Make sure your hair is detangled and brushed out nicely. It's easier to section dry hair, so we'll work with that.
-
To get things started, create a clean part at the nape of your neck where you want to begin. A rat-tail comb is perfect for getting that nice, crisp parting.
-
Now, use that same rat-tail comb to work horizontally across the back of your head, separating your hair into thin sections, about 1-2 inches wide. The width depends on your weft and how thick you want the volume.
-
As you make each section, secure it up and out of the way with some sectioning clips. This keeps everything neat and tidy while you work.
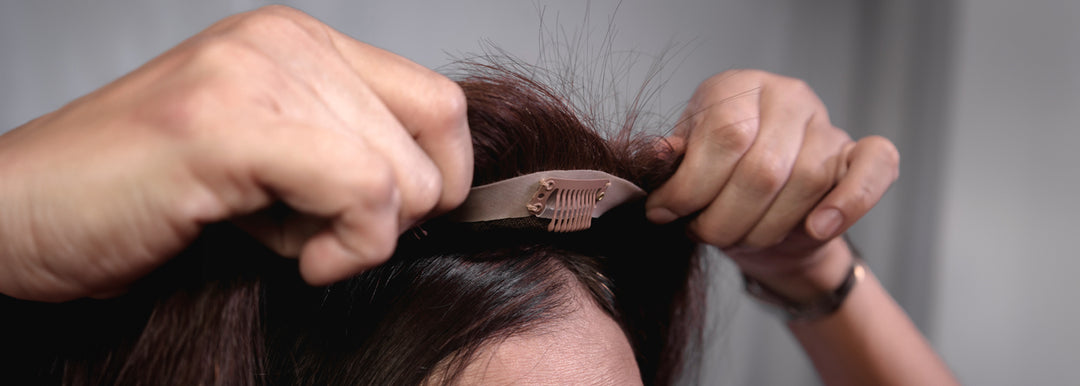
Properly Securing the Clip-In Wefts:
-
Time to grab your weft! Align it with the underside of that first subsection, with the clips facing your scalp.
-
Most wefts have multiple clips. Gently open up all the clips by pushing down on the levers or snaps.
-
Position the weft as close to your roots as comfortably possible. Ideally, your natural hair will help disguise the top edge of the weft.
-
Starting from the ends and working inwards, snap or close each clip firmly onto your hair, securing the weft in place. Make it snug but not too tight.
-
Release the next subsection above the weft you just clipped in. Repeat those last few steps, sectioning and clipping in wefts as you work your way up until you've got your desired volume.
Blending In With Your Natural Hair:
-
For a seamless blend, lightly tease the hair right above where the weft is secured. This creates a subtle bump to help hide the weft line.
-
Once all the wefts are clipped in, grab a brush and gently blend your natural hair over the extensions. Brush downwards from the roots to the ends.
-
Finally, style that gorgeous hair however you like! Curling or adding waves can help camouflage the wefts for an even more natural look.
Creating the Updo Base
Basic Updo Base
Gather all your short hair at the back of your neck and tie it into a low ponytail using a hair tie that matches your hair color so it's not too noticeable. For extra lift at the top of your head, lightly tease the few strands of hair above where the ponytail is tied, then smooth the top layer over to hide the teasing. Take a small section of hair and wrap it around the hair tie to cover it. Use bobby pins horizontally in a criss-cross pattern to really secure the wrapped hair.
Creative Updo Techniques

French Braid Base: Start with a french braid at the back of your neck, adding hair from the sides as you braid upwards. Secure the end with a hair tie, then wrap and pin the braid around the ponytail base.
Twisted Base: Split your hair into two sections at the back, twist each one up individually, and wrap the two twists together to form the base. Pin the twists into place with bobby pins.
Incorporating Extensions into the Updo
First, gather all your hair into a low ponytail or french braid at the back of your neck. Choose whichever base suits the updo look you want - a ponytail works great for a messy bun, while a braid is perfect for a sleek chignon.
Before adding any hair extensions, make sure they are completely brushed out with no tangles. We want those wefts ready to go!
")
")
")
")
")
")
")
")
")
")
")
")
")
")
")
")
Now it's time to start clipping them in. First, section off a piece of your natural hair that matches the width of the weft extension you'll be using. Then follow the instructions for your specific type of weft to clip it in securely at the roots, with your natural hair covering it.
For blending the extensions into your updo, there are two main techniques: If you want a loose, tousled look, lightly tease the hair right above where you clipped in the weft. Gently incorporate this teased section along with the loose extension hair as you style your updo. Use bobby pins to keep it all in place.
For a sleeker, more structured updo, you'll wrap the remaining hair weft extensions themselves into the base. With the clips still attached, carefully wrap the weft hair around your ponytail or braid, tucking the ends underneath. Secure everything with plenty of bobby pins to fully conceal the wefts.
Whichever method you use, just keep repeating those steps - sectioning, clipping in wefts, and integrating them into your updo. Use wefts in different widths for a more natural, piecey look with lots of volume and fullness.
Styling and Finishing Touches
Using Hair Products for Hold and Shine
When it comes to hair products for achieving the perfect updo, hairspray is your best friend. Choose a hairspray based on your hair type and desired hold level - a light to medium hold for fine hair, or a strong hold spray for thick, curly hair that needs extra grip for intricate styles. The key is to apply hairspray in light, even mists from a distance to avoid that stiff, helmet-head look.
Before you start styling, work a dime-sized dollop of mousse or gel through your damp hair and blow dry it. This lays the groundwork for your updo, adding some grit and texture to your hair so it'll hold the style better. Once you've got your updo perfected, give it a quick mist with a lightweight shine spray. This little step does double duty - it'll help tame any baby hairs flying around while adding a beautiful, glossy finish.
Optional Accessories
Little accessories can totally transform a basic updo into something brilliant. Start with hairpins and bobby pins that match your hair color - those are key for keeping your updo securely in place without being visible. Then kick it up a notch by adding some fun, decorative pins like jeweled ones, floral pins, or pins in funky shapes to give your style some personality. Headbands and barrettes in different styles and textures are another easy way to complement your outfit and give your updo a vintage vibe or pop of color.
Perfecting the Final Look
Once your updo is fully secured with pins whether is it a regular ponytail or high ponytail, use a handheld mirror to inspect the back and sides, tucking in any stray hairs with additional bobby pins as needed. For a softer, more relaxed updo, gently tug and fluff sections to loosen them slightly and create a fuller, voluminous silhouette. Finish with a light misting of shine spray for a polished, flawless look. If using decorative accessories like jeweled pins, ensure they are positioned securely before heading out.
Resources to Check
Need some help with updos? Check out these resources:
YouTube: Search for updo tutorials that match your hair type and the style you want. Watching step-by-step videos is really helpful.
Hair extensions blog: Roxy Hair share useful tips and product recommendations for different updo styles.
Pinterest: Browse updo inspiration photos on Pinterest boards. Seeing pictures can give you good ideas.
Summary
Clip-in hair extensions are a game-changer for creating gorgeous updos with minimal effort. By following these step-by-step instructions, you can achieve stunning, voluminous hairstyles that will turn heads. Prep your natural hair, section and clip in the extensions seamlessly, style your desired updo, and finish with products for hold and shine. With a little patience and practice, you'll be rocking fabulous updos like a pro in no time!
Frequently Asked Questions
Can I use clip in extensions on short hair?
Yes, you can! Clip in extensions work well even for shorter hair lengths. Just make sure to get wefts that match your hair length and texture.
How long does an updo with clip ins last?
An updo hairstyle with clipped in extensions can easily last 2-3 days with proper care. Avoid sleeping with the updo and use a setting spray.
Will clip in extensions damage my natural hair?
Not if applied correctly. Always secure the wefts properly by creating horizontal rows. Don't pull or tug on your hair too much while styling the updo.
Can I wear clip in extensions every day?
While you can wear clip ins daily, it's best to give your natural hair a break every few days. Leaving them in for too long can cause strain and breakage.