Have you ever looked in the mirror during the day and noticed your clip-in hair extensions were getting a bit messy? Maybe they shifted out of place or were starting to come loose from your real hair. We've all been there - it's that sinking feeling when your cute hairstyle starts falling apart.
Don't worry, if you wear hair extensions! This guide has got your back. Whether you're an expert or just starting with clip-ins, I'll show you how to fix those unruly extensions and get your hair looking fabulous again.
I'll break it down step-by-step, so we can make sure those pesky extensions are locked in place and your hairstyle is back to perfection. No more stressing about your look - just follow along and your hair will be secured for the rest of the day.
Key Takeaways
-
Decide between human hair extensions (more natural looking but higher maintenance) or synthetic extensions (more affordable but can't use hot tools)
-
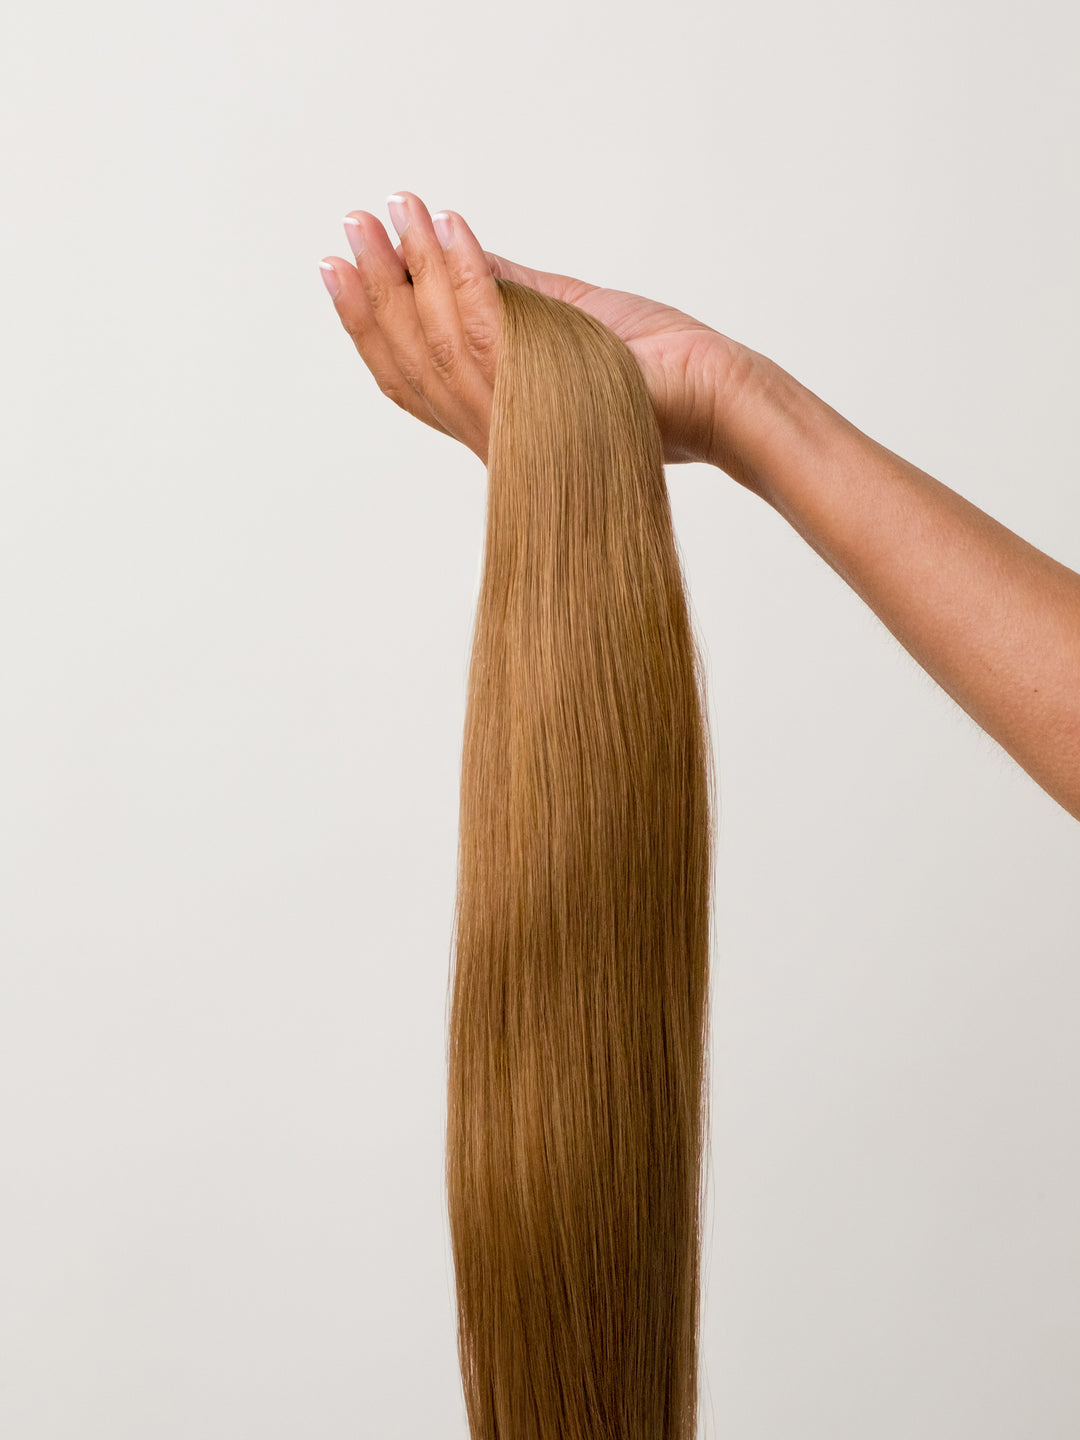
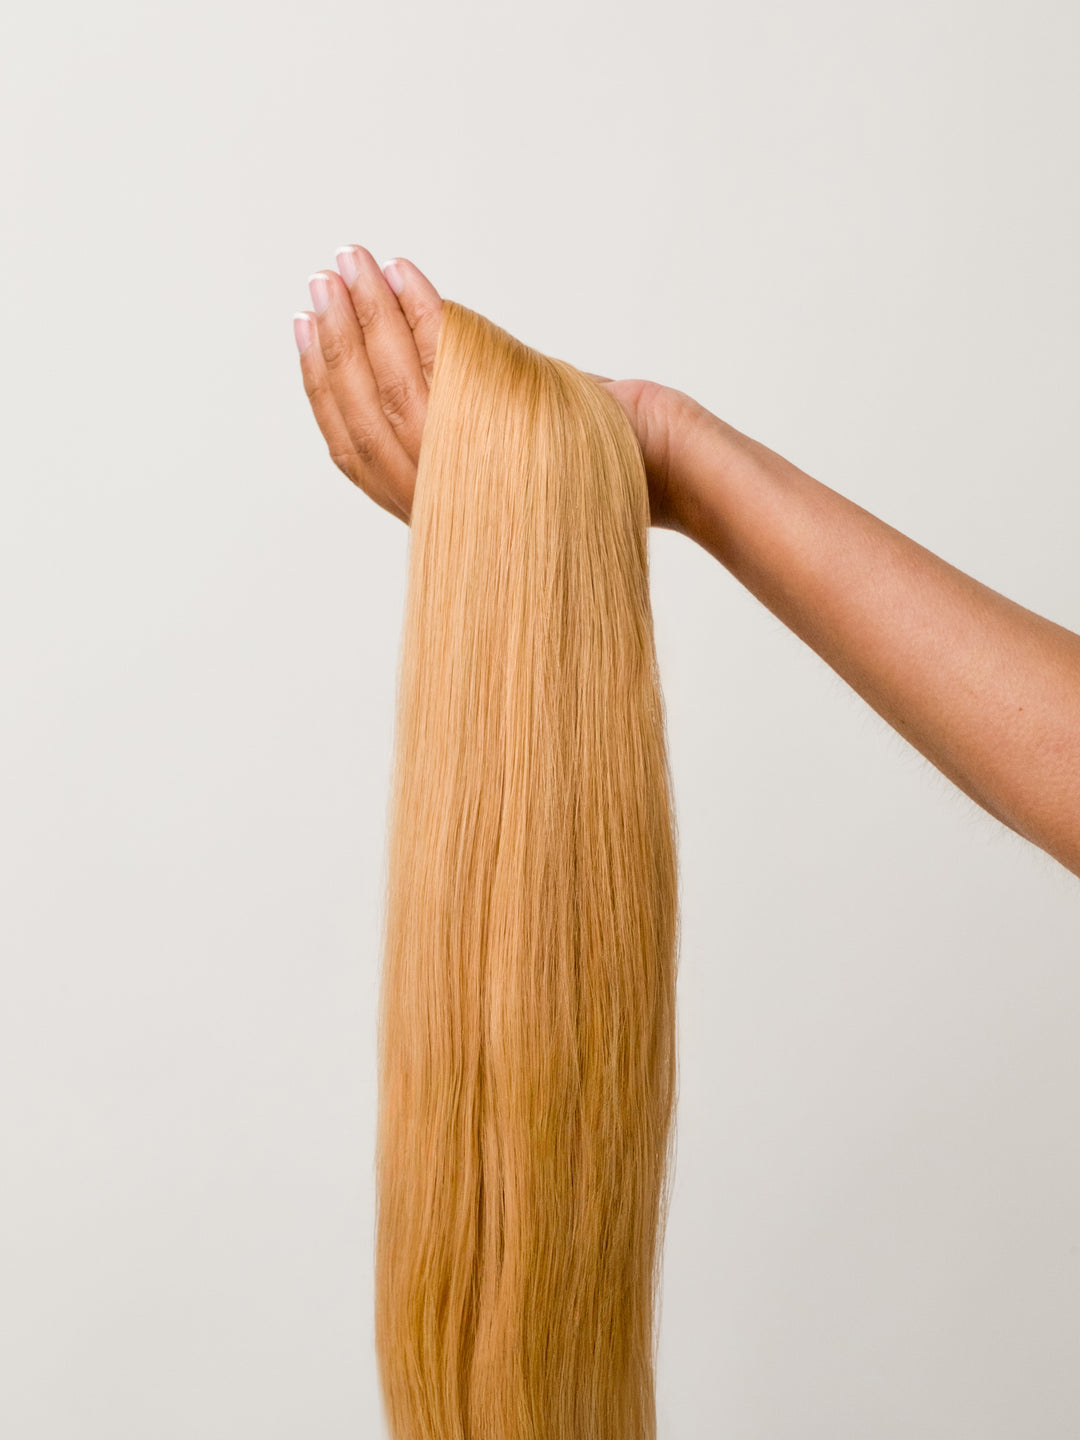
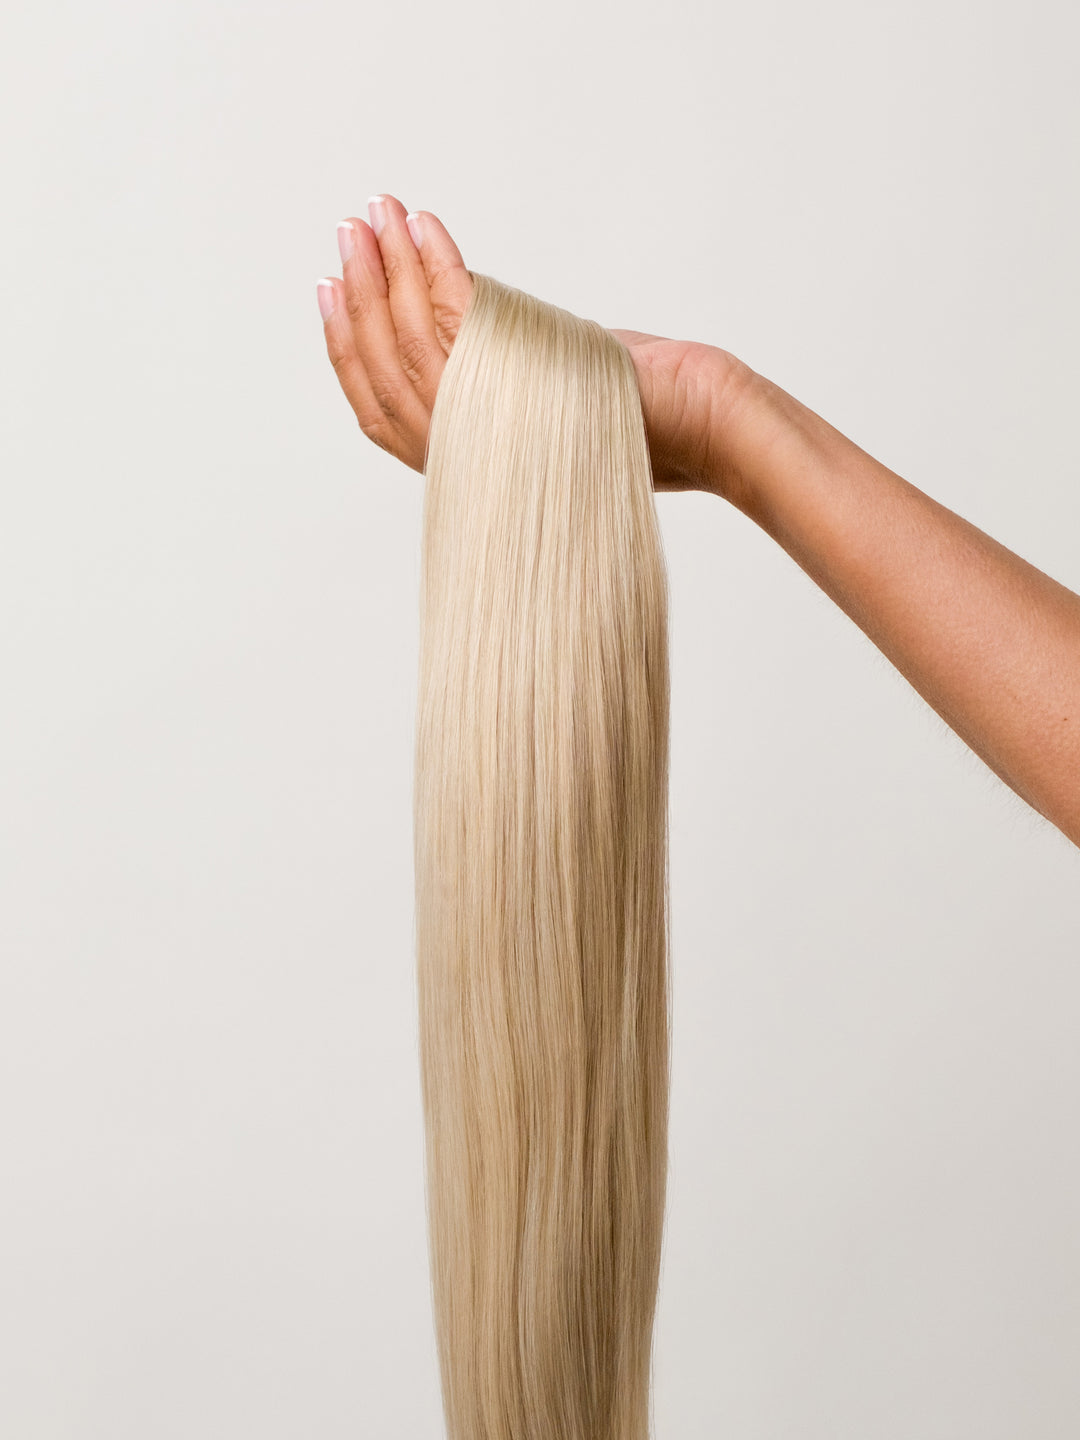
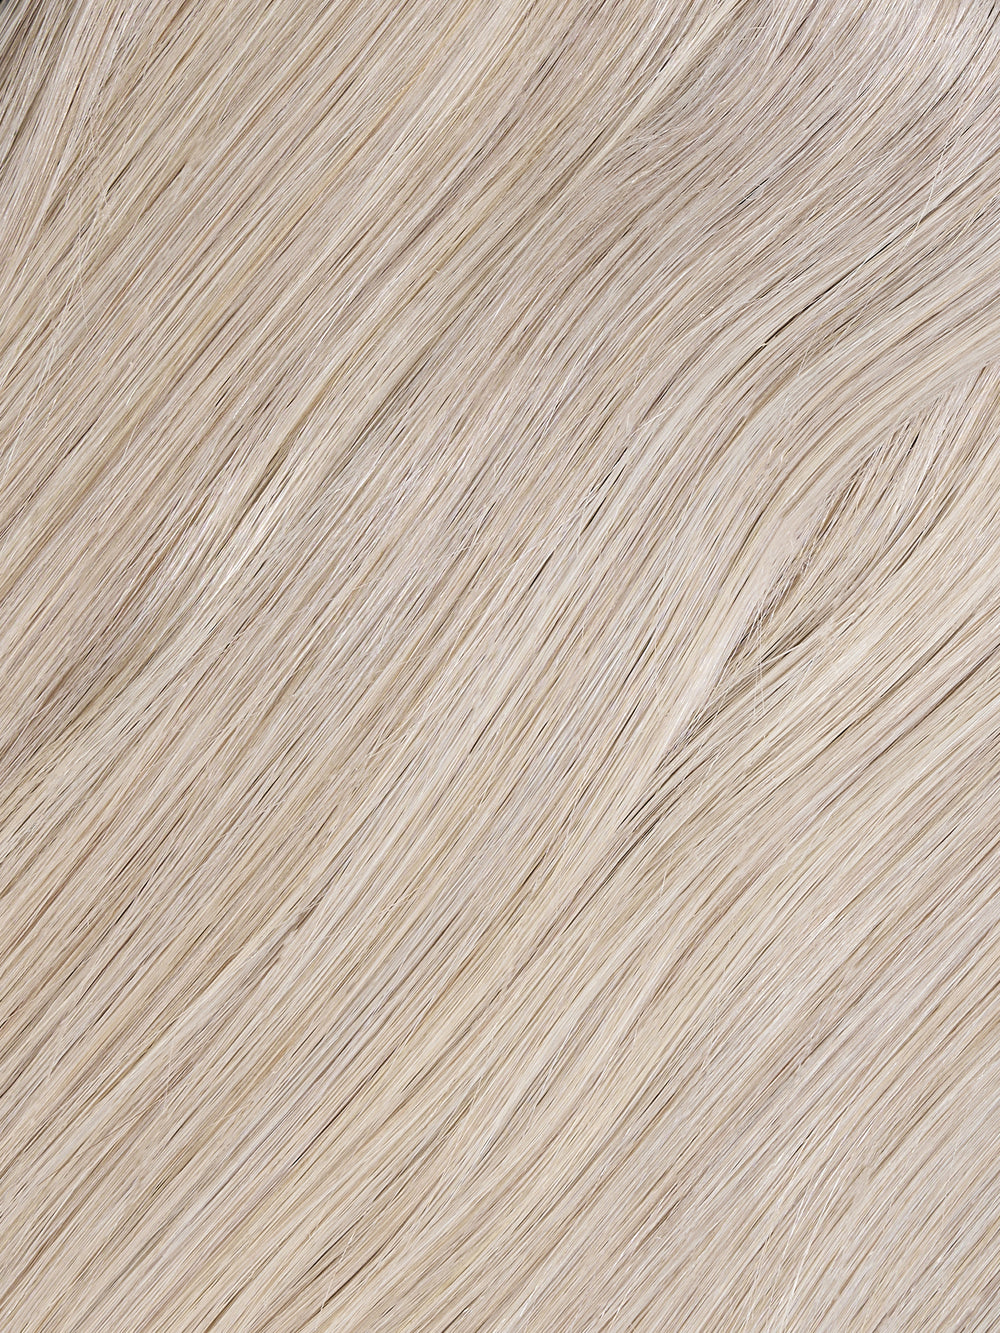
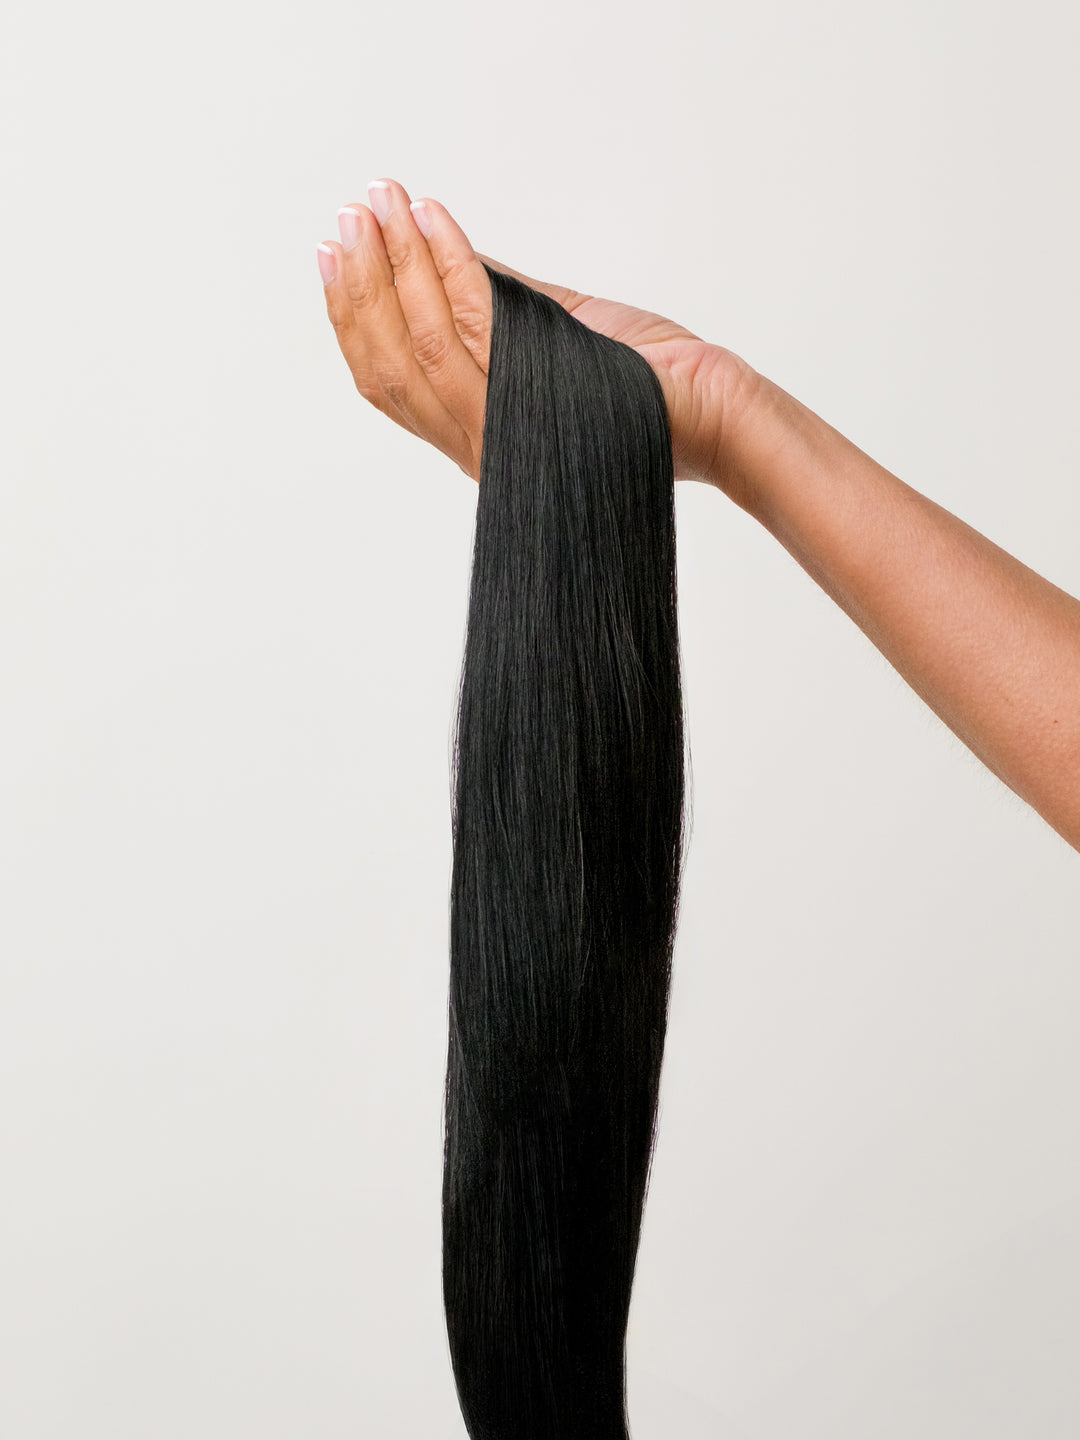
Choose your desired texture - straight for versatility, wavy for body, or curly for great volume
-
Human hair extensions can last months with minimal fixing, while synthetic may need more frequent adjustments
-
Straight textures require the least amount of restyling, curly needs the most
-
Consider your hair type (dry, oily, curly, color-treated) when choosing extension-friendly products
-
Use a wide-tooth comb or brush specifically designed for extensions to prevent shedding
-
Invest in a quality detangling spray or conditioner to keep extensions smooth and knot-free
Types of Clip-In Hair Extensions
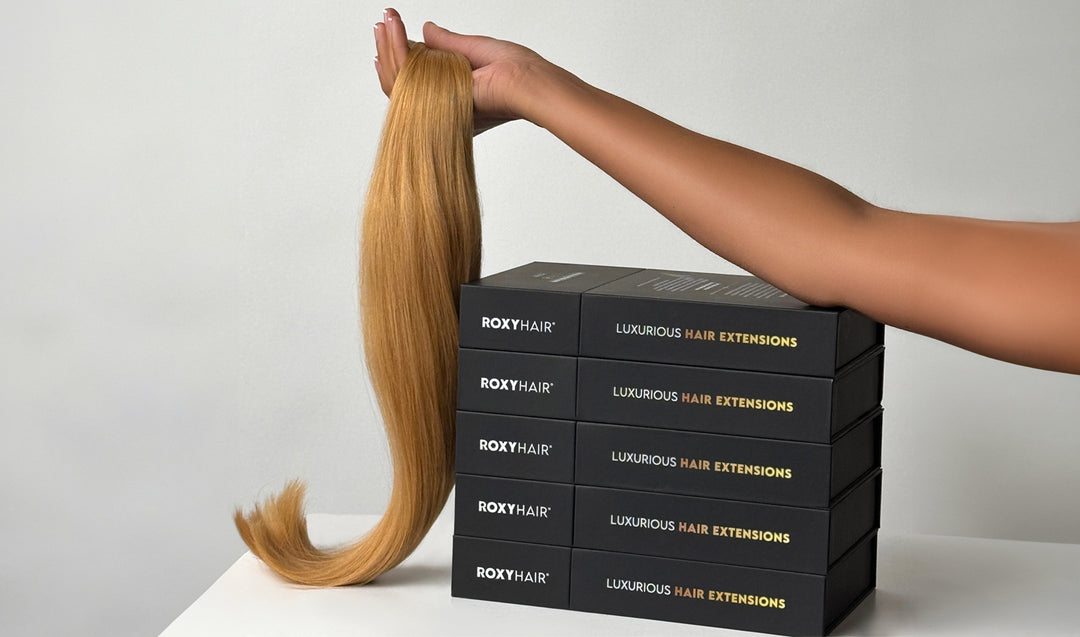
Applying hair extensions are super handy for adding extra volume, hair's length or a fun pop of color to your hairstyle. But with so many different types out there, it can get a bit confusing trying to figure out which ones are right for you.
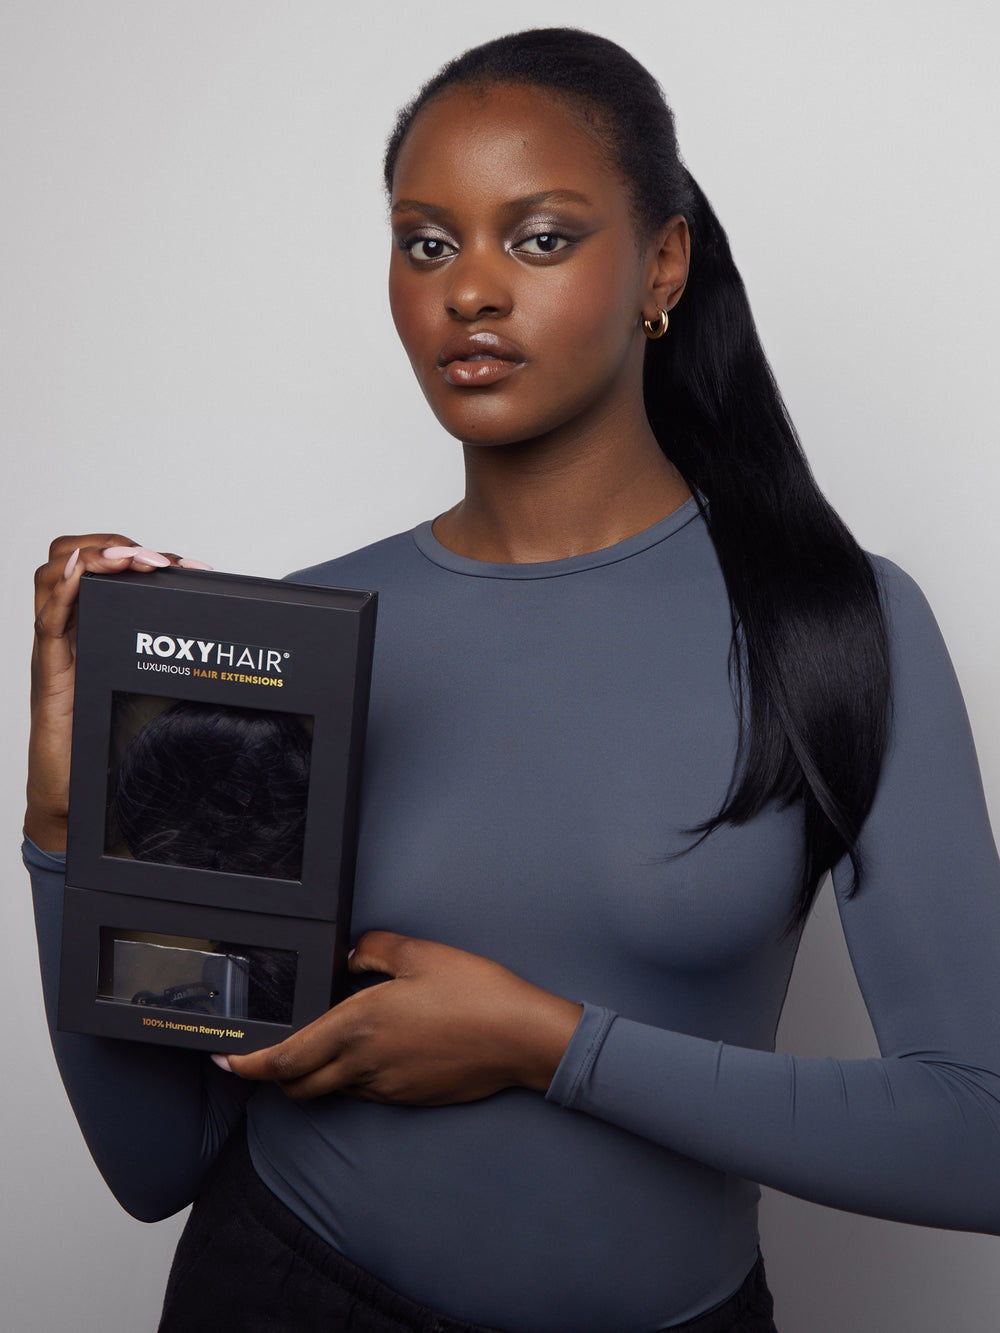
First up, you'll want to decide between human hair or synthetic:
Human hair extensions are the fancy, top-notch option. They blend in seamlessly with your real hair, and you can style them with heat or color them just like you would your own locks. The downside is they need a bit more TLC and can be pricier.
Synthetic extensions are the budget-friendly choice. You can get all sorts of fun, vibrant shades and textures with these. They're great at holding curls, but you usually can't use hot tools on them. Just keep in mind synthetic hair can get tangly faster and may need to be replaced sooner than human hair extensions.
Next, think about what kind of texture you want:
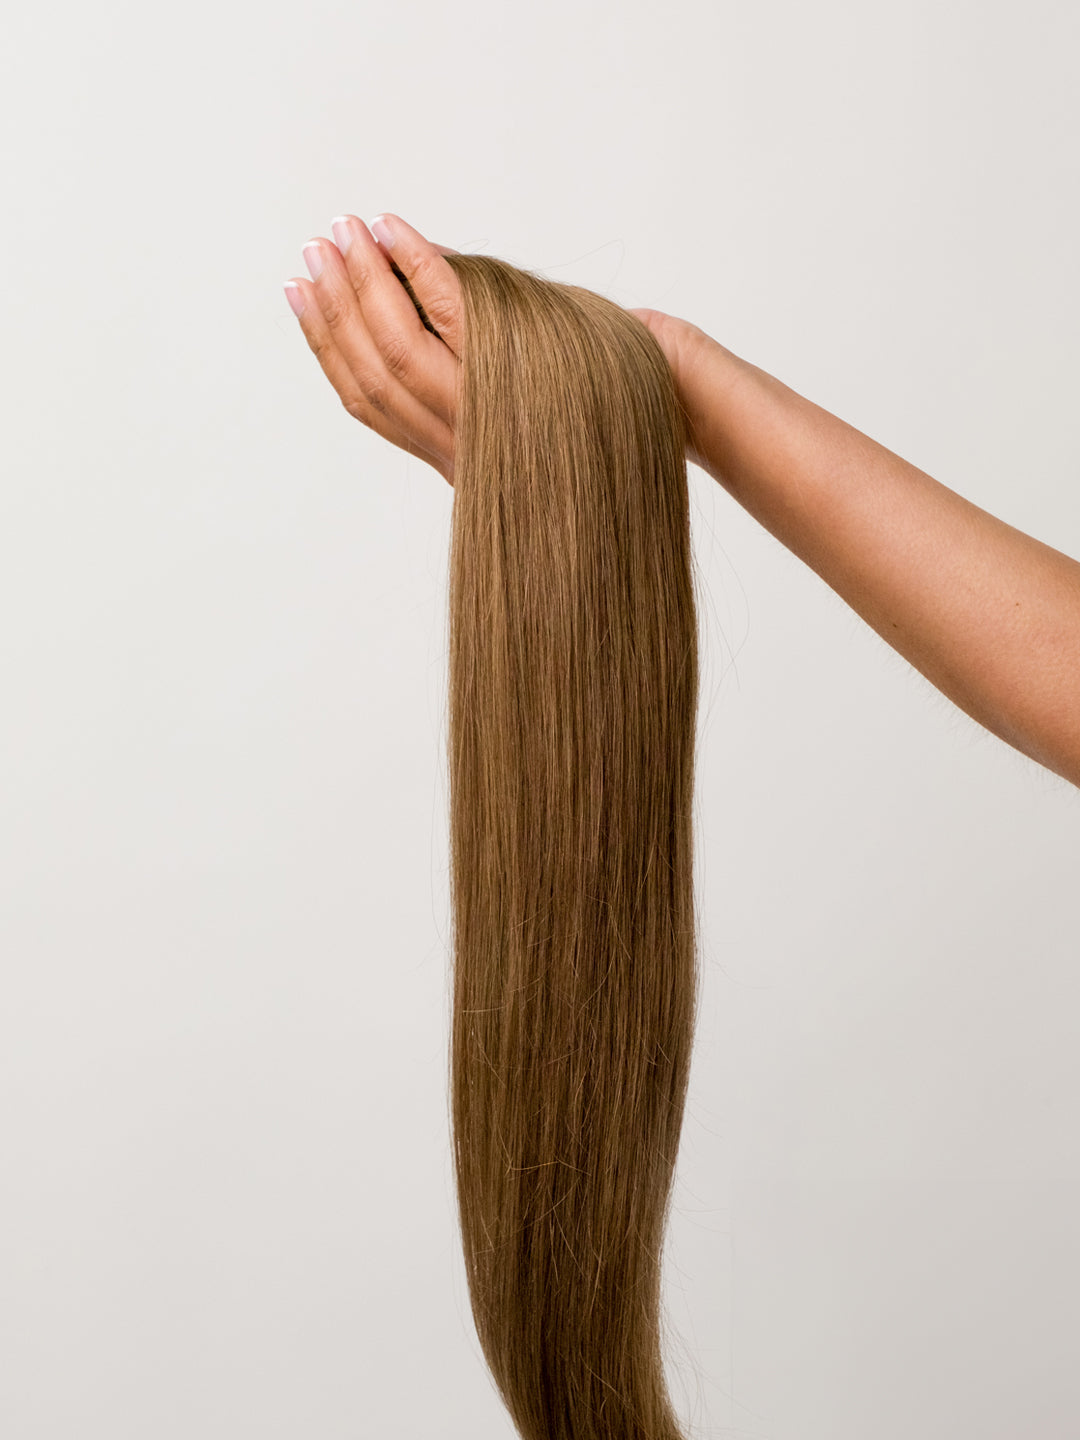
Straight extensions are timeless and so versatile - you can wear them sleek or curl them up for extra oomph.
Wavy extensions add lovely movement and body to your 'do. Perfect for that effortless, beachy vibe.
Curly extensions pump up the volume with gorgeous, bouncy ringlets. Just be prepared to do a bit more scrunching and styling to keep them looking fresh.
One more thing to consider is how often you'll need to readjust them:
Human hair extensions can go for months with minimal fixing if you take good care of them. Synthetic ones may need more frequent adjustments since they can get tangled or lose their shape faster.
Straight textures tend to need the least amount of fixing to stay smooth. Wavy and curly styles may need a quick scrunch or restyle every now and then to revive them.
Common Issues with Clip-In Extensions
-
Clips Coming Loose or Extensions Fall
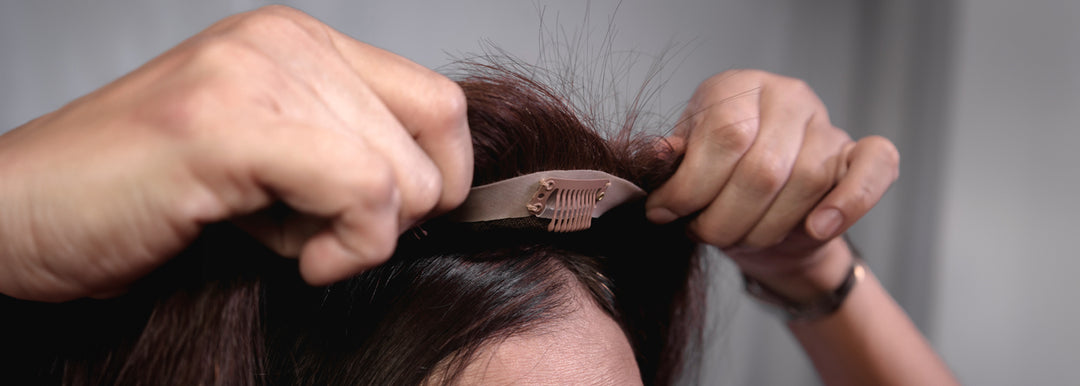
One problem you might have with clip-in hair extensions is the clips loosening up over time. This can happen if you don't put the clips in properly or secure them tightly enough. To avoid this issue, make sure to section your hair neatly, tease the roots a bit to give the clips something to grip onto, and really press the clips firmly into your hair.
-
Tangles and Matting
Another annoying thing that can happen with clip-ins is they can get really tangled and matted, especially if you don't take good care of them. To keep them smooth and knot-free, gently brush them out regularly, starting from the ends and working your way up. Using a detangling spray or conditioner can also help keep them smooth and manageable.
-
Shedding and Thinning Out
Over time, you might notice your clip-in extensions start to shed strands and look thinner. This tends to happen more with cheaper extensions or if you're not handling them gently enough. To cut down on shedding, be careful not to pull or tug on them too much, and store them properly when you're not wearing them. Spending a bit more on higher-quality extensions can help too.
-
Damaging Your Real Hair
If you're not careful when putting in or taking out clip-ins, you can actually damage your own fine hair and might have a hair loss. Go slowly and gently when attaching or detaching the clips, and give your hair a break from having the extensions in for days on end. This will prevent pulling, strain, and breakage on your own hair.
Tools and Materials Needed
Here are some essential items you'll need:
-
Clips: You'll want good quality hair clip to securely attach the extensions to your short hair without damaging it. Look for durable clips that won't pull or snag.
-
Brush: A comb or detangling brush is a must for gently brushing out any knots or tangles in the extensions.
-
Hair Products: You'll need some special products to keep the extensions looking great:
-
Shampoo and conditioner made for extensions
-
Hair serum or coconut oil to keep them moisturized and shiny
-
Hairspray, heat protectant or styling products to hold the style
-
Detangling spray to make brushing easier
-
-
Hair Ties: You'll need some hair ties or bands to section off your hair before clipping in the extensions.
-
Mirror: A good mirror is key for putting in the weft extensions and making sure they blend in naturally.
-
Care Kit: Many beauty supply stores sell kits with a soft cloth, storage bag, and maybe a cleaning solution to keep your extensions in tip-top shape.
Depending on your hair type, you may want some specialized products too when wearing clip in extensions:
Dry/Damaged Hair: Look for moisturizing shampoo, conditioner, hair oil like coconut oil and repair products.
Oily Hair: Try oil-absorbing dry shampoo, texturizing sprays and scalp treatments.
Curly Hair: Opt for sulfate-free, moisturizing products and gels/creams for definition.
Color-Treated Hair: Use color-protecting shampoo, conditioner and glazes to prevent fading.
")
")
")
")
")
")
")
")
")
")
")
")
")
")
")
")
Step-by-Step Guide to Fixing Clip-In Extensions on Natural Hair
Step 1: Detangling and Brushing Out Extensions
First things first, you'll want to grab a good detangling brush and gently work through those extensions, starting at the ends and gradually making your way up towards the roots. Going slowly from the bottom up helps prevent any unnecessary damage or breakage. A detangling spray or some conditioner can be a lifesaver for stubborn knots and tangles - just work it through and let it do its magic. When it's time to wash them, stick to cold or lukewarm water. Hot water can be too harsh and lead to dryness and damage over time.
Step 2: Securing Loose Clips or Replacing Old Ones
Look at each of the little clips on the extensions and make sure they're sewn on tightly to the wefts (the hair strip). If any clips are loose, use a needle and thread to stitch them down better. Or you can just replace that clip with a new one. When you go to clip the extensions into your hair, having the clips spaced out evenly and lined up properly will help them stay put nice and secure.
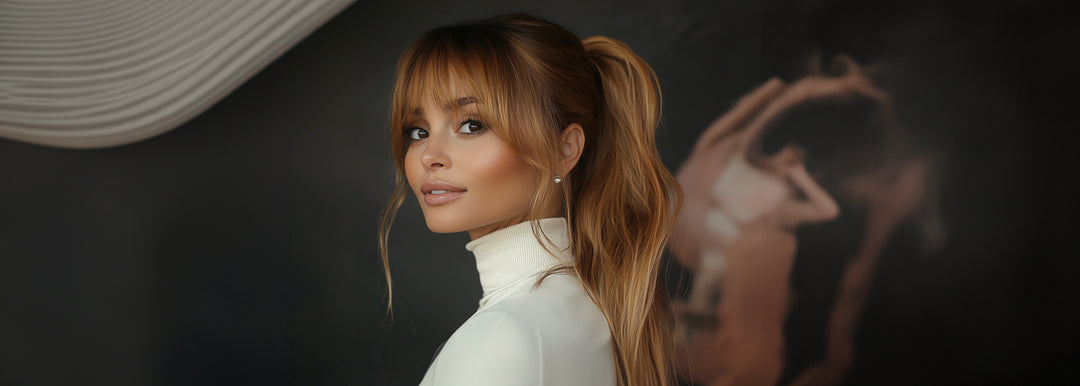
Step 3: Blending Extensions with Natural Hair
Part your hair where you want to put in the extensions. Make sure they'll be spaced out evenly so it looks natural. Next, gently tease or roughen up the roots of your hair a little bit. This will help the clips grip better. Start at the bottom and clip in the extensions one by one, working your way up. As you go, blend them smoothly with your real hair so there's no obvious line.
Step 4: Proper Storage and Maintenance Tips
So after taking off the extensions, gently brush through them to get any knots or tangles out. Make sure they're nice and smooth before you put them away. Find a cool, dry spot away from any bright windows or sunshine to store them - that'll help keep them from getting damaged. Use a soft cloth or a little bag to keep the extensions clean and safe when you're not wearing them. Every so often, give them a little wash with a gentle shampoo and conditioner, but let them fully air dry before tucking them away again. And try not to use hot styling tools on them too much, that can really wear them out faster. Just take good care of them and they'll last you a nice long while!
Troubleshooting Common Problems
Here's how to troubleshoot some of the most common issues:
Excessive Shedding or Tangling:
-
Detangling Technique: When detangling your extensions, take it slow and gentle. Start brushing from the ends first, then work your way up towards the roots. Using a wide-tooth comb made just for extensions helps a ton - it won't rip or break the hair as easily as a regular brush. Go nice and easy to avoid crazy tangles.
-
Washing Routine: Wash your extensions less frequently than your natural hair (ideally, every 1-2 weeks). Use a sulfate-free shampoo and conditioner specifically formulated for extensions.
-
Product Buildup: Product buildup can cause tangles and shedding. Clarify your extensions occasionally to remove buildup.
Fixing Damaged or Frayed Ends:
-
Split Ends Trimming: You can trim a thin section off the frayed ends of your extensions just like you would with your natural hair. However, be cautious not to cut too much, as extensions cannot grow back.
-
Deep Conditioning: Regularly deep condition your extensions to keep them hydrated and prevent breakage. Look for conditioners designed specifically for extensions.
-
Heat Styling Minimization: Excessive heat styling can damage extensions. Use heat protectant spray and limit heat styling tools like straighteners or curling irons.
Adjusting the Color or Tone of Extensions:
-
Temporary Color Correction: For minor adjustments, consider using a temporary hair color rinse or colored hairspray. This is a good option for adding highlights or lowlights.
-
Professional Dyeing: If you need a more significant color change, consult a professional hairstylist experienced with coloring extensions to avoid damaging your hair. Coloring extensions at home is risky and can damage them.
Summary
Clip-in hair extensions are an awesome way to get really full, beautiful hair instantly. But you do need to take good care of them if you want them to last. This guide has some tips to help with that - like being gentle when you detangle them, using the right hair products, and storing them properly when you're not wearing them.
If you put in a little effort following these tips, your clip-in extensions can keep giving you those amazing hairstyles for months. Don't let preventable issues mess up your hair! Taking good care of your extensions means you can rock that gorgeous, full hair look again and again.
Frequently Asked Questions (FAQs)
How often should I detangle my clip-in hair extensions?
Detangle your clip-in extensions every time before wearing them using a wide-tooth comb or brush.
My clip-in extensions keep slipping out, what can I do?
If the clips are loose, you can crimp them tighter with pliers. Or replace old clips with new ones. Also, clip the wefts snugly to your head.
I got my extensions caught and now the ends look bad. How do I fix that?
Trim off any damaged, frayed ends using sharp scissors. Cut into the ends following the hair's natural angle.
No matter what I do, my extensions look dry and dull. Any tips?
Extensions can't produce natural oils. Use a little hair serum or argan oil for shine and softness. Also, use good semi-permanent hair color to revive the tone.
When is it time to just replace my clip-in set?
Replace your extensions if they are extremely tangled, shedding a lot, or the hair looks very damaged. With proper care, most last around 3-6 months.